You can use templates for many different things: you can use them as a pattern guide when cutting fabric; you can use them as an outline for appliquéing; you can even cut out shapes from your fabric using a template!
Stencils are also great because they help you create interesting designs on your background fabrics.
Quilt templates and stencils are available in all sorts of sizes, shapes, and materials. They come in paper, plastic, metal, wood, and more.
Some templates are made specifically for certain types of projects, while others are designed to be used with multiple projects.
But how do you use a quilting template or a stencil? Let’s first take a look at exactly what quilting templates and stencils are.
What Is A Quilting Template?
A quilting template is a tool that helps you create patterns on fabric by tracing over the design onto the fabric.
A quilting template is usually made of cardboard or other sturdy material and has a hole in the center where you place your fabric. The template then acts as a stencil and allows you to trace around the shape of the design.
Once you have traced the design onto the fabric, you can cut out the shape and sew it into your project.
There are two main ways to use a quilting template: either by placing the template directly onto the fabric (this is called direct application) or by placing the template onto a piece of paper and then transferring the design onto the fabric (this method is called transferring).
Another could be a lack of sewing experience. If you don’t have much experience with sewing, then you may not know how long it takes to sew a single patchwork block.
A quilting template allows you to quickly and easily put together a quilt without having to worry about making mistakes.
Another reason is that you want to get more creative with your project. With a quilting template, you can try new techniques with ease, such as free motion embroidery, machine stitching, and appliqué.
Using a template means that you’ll never have to worry about ripping your fabric again.
Types Of Quilting Templates
The following are some of the most common types of quilting templates:
Paper Templates
These are usually very simple and are great for beginners. They are also inexpensive and easy to find at any craft store.
Plastic Templates
These templates are often found in the shape of a ruler. They are useful for measuring and marking fabrics.
Metal Templates
Metal templates are typically rectangular and are good for cutting out shapes.
Wood Templates
Wood templates are frequently square and are perfect for cutting out squares and rectangles.
What Kind Of Fabric Should I Use With My Quilting Template?
When using a quilting template, you should always remember to use the right kind of fabric. You can use almost any fabric with a quilting template, but here are some things to keep in mind when choosing a fabric:
Choose a fabric that is sturdy enough to handle being handled and washed repeatedly.
Avoid using too heavy a fabric, especially if you plan to wash your finished product frequently.
Try to avoid using slippery fabrics like silk or satin.
Make sure that the fabric you select is compatible with the size of the template you’ve chosen. For example, if you’re planning to use a paper template, you won’t be able to use an expensive fabric that requires special care.
When selecting fabrics, think about what colors you’d like to see in your final project. Some quilting templates come with pre-printed designs, so you don’t have to worry about matching colors yourself.
When purchasing a quilting template, make sure that it comes with instructions. Sometimes these instructions are included in the package itself, while other times you’ll need to purchase additional materials separately.
Finally, consider whether, or not, you would prefer a solid color or a patterned design. Solid colored quilting templates are generally more versatile than those with patterns. Patterns will only work well on certain kinds of fabrics.
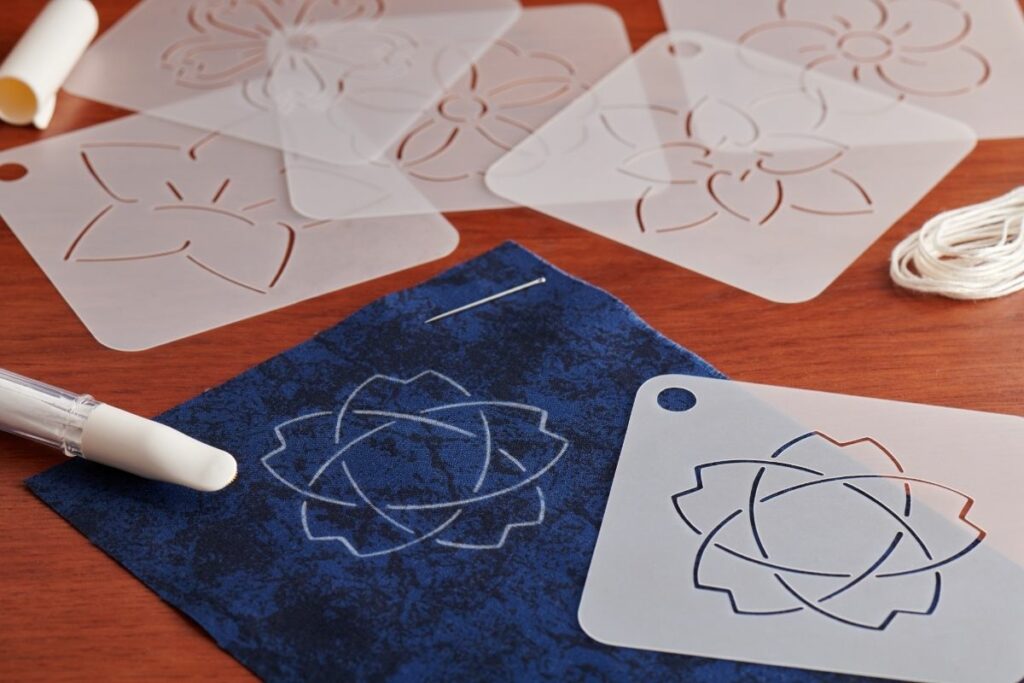
What Is A Quilting Stencil?
Stencils are similar to templates, but they are usually smaller than templates. A stencil is typically used to cut shapes from fabric rather than trace over a design.
In order to use a stencil, you must first draw the shape onto the fabric. Once the shape has been drawn, you then cut around the shape using scissors.
Why Use A Quilting Stencil?
The advantage of using a stencil is that it saves you time because you no longer have to trace the shape onto the fabric before cutting it out. This process can take up quite a bit of time if you’re doing it manually.
A quilting stencil is also ideal when you want to add a decorative element to your quilt. You can use stencils to add flowers, leaves, and even geometric shapes.
By adding these elements to your quilts, you can give them an extra special touch.
Types Of Quilting Stencils
There are many different types of quilting stencils available. Some examples include:
Felt Stencils
Felt stencils are made from felt and come in various sizes. They are ideal for creating flower petals and other small details.
Fabric Stencils
Fabric stencils are made of paper or plastic and are designed to be used on fabric. They are commonly used to create floral designs.
Appliquéing Stencils
Appliquéing stencils are used to make appliqués. They are generally made of metal and come in various shapes and sizes.
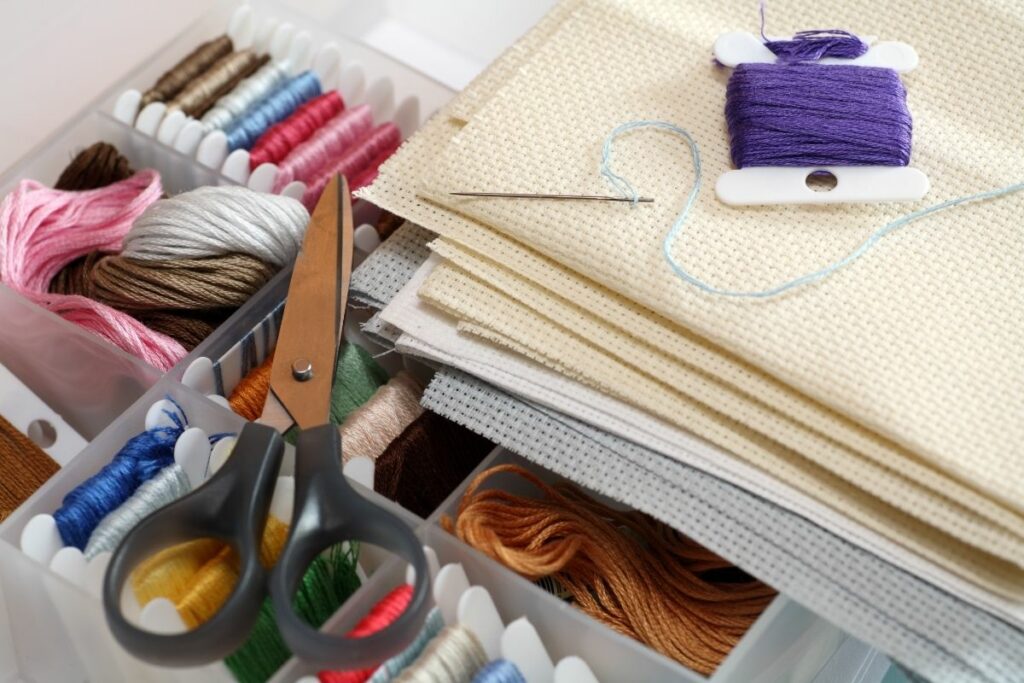
Embroidered Stencils
Embroidered stencils are used for embroidering patterns. They are typically made of canvas and come in various shapes.
Parchment Stencils
Parchment stencils are like regular fabric stencils, except they are made of parchment paper. They are ideal for tracing images and drawing detailed designs.
What Kind Of Fabric Should I Use With My Quilting Stencil?
When choosing which type of fabric to use with your quilting stencil, consider what kind of look you want to achieve.
For example, if you want to make a traditional-looking quilt, you should probably stick with a solid color fabric. If you want something more modern, try mixing up colors and textures.
If you’re not sure how to choose a fabric, here are some tips to help you decide:
Choose a fabric that will complement your project. If you’re making a traditional-looking quilt, go with a neutral color such as white, cream, tan, gray, black, etc. If you’d like to mix things up, try going with a bright color such as red, yellow, orange, green, blue, purple, pink, etc.
Consider the size of the fabric. Smaller pieces of fabric tend to work better with smaller stencils. Larger pieces of fabric may require larger stencils.
Consider the texture of the fabric. Textured fabrics work best with stencils that have raised surfaces. Smooth fabrics don’t work well with stencils because they won’t leave enough room for the stencil to sit firmly against the surface.
Try to avoid prints and solids. Prints tend to get messy quickly, while solids can become dull after repeated washings
Should I Use A Quilting Template Or A Stencil?
The answer to this question depends on what kind of project you want to work on. If you plan to use your quilt for wall hangings or table runners, then you should definitely use a template.
However, if you plan to use your finished quilt for pillows or bedding, then you may want to consider using a stencil.
If you decide to use a template, there are several different kinds of templates available, as mentioned above.
Paper templates are the easiest to use because they are easy to store and transport. Metal templates are also great for storing and transporting because they are sturdy and durable.
Wood templates are great for outdoor projects such as garden beds and patios. Plastic templates are great for indoor projects like sewing rooms and craft rooms.
And finally, vinyl templates are best for those who are just getting started with their quilting hobby. Vinyl templates are inexpensive and can be easily stored and transported.
If you decide to use a stencil instead, there are numerous different options available that we talked about previously. Let’s take a closer look at them.
Fabric stencils are great for cutting out small pieces of fabric. These are perfect for appliqué projects. You can find these stencils at most fabric stores.
Craft foam stencils are great when you want to cut out large areas of fabric. They come in a variety of sizes, so you can choose the size that works best for your project.
Foam stencils are also great for creating decorative borders. Finally, plastic stencils are ideal for cutting out shapes from fabric. They are lightweight and easy to carry around.
How To Use A Quilting Template
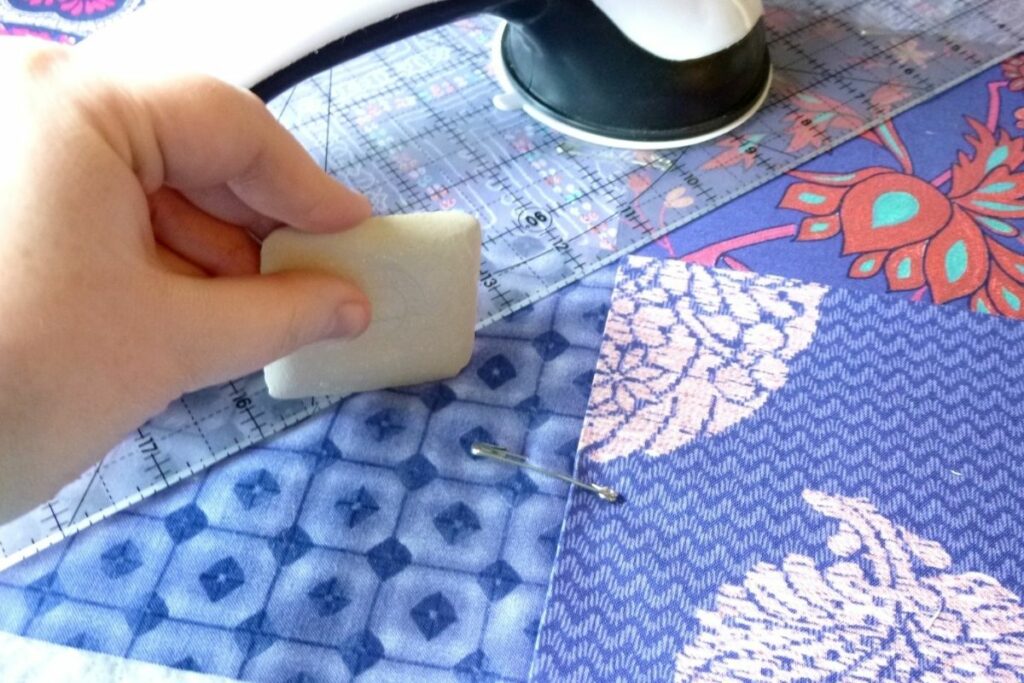
To use a quilting template, first make sure it is clean and dry. Then, place the template face down on top of the fabric. Press lightly all over the template to ensure that it adheres properly.
Next, carefully trace around the template onto the fabric. Be careful not to press too hard or the edges of the template could tear through the fabric.
Once you’ve traced the outline of the design, remove the template. Cut along the line you drew. Make sure to keep the template face down during the entire process. This will help prevent any distortion of the shape of the design.
You can also use a quilting ruler to guide you when tracing the pattern. The quilting rulers come in various lengths depending on how big your quilt is going to be.
For example, a 36″ x 48″ ruler would be suitable for making a king-size quilt. A 24″ x 30″ ruler would be good for smaller quilts.
Once you have traced the design, cut along the lines you drew. Don’t worry about being precise; just try to get an even cut across the whole piece of fabric.
After you’ve completed the cutting process, turn the template over and admire your beautiful new design!
How To Use A Quilting Stencil
To use a stenciling technique, you will first need a design that you want to create. Choose a design that fits well within the area that you want to stencil.
The next thing you will do is make a copy of the design. This way, you can practice drawing the design before actually starting the process of stenciling.
Once you have drawn the design, print it out on paper. Cut out each shape that you see on the printed image. After you have cut out all the shapes, tape them together into a single sheet.
Next, take the stencil and place it onto the fabric. Make sure that you hold it securely in place. Press the stencil down firmly. Do not worry about making any creases or wrinkles.
Continue pressing down the stencil until you have covered the entire surface of the fabric. When you are finished, remove the stencil. Peel off the backing paper. Wash the fabric if necessary.
Making Your Own Quilting Template
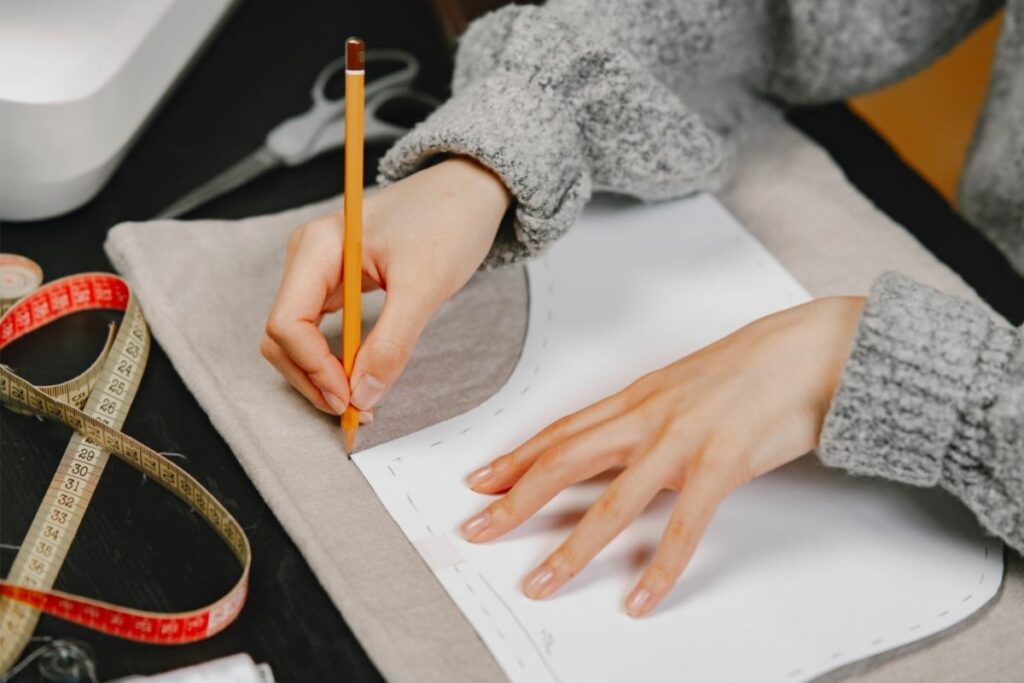
There are many ways to make your own quilting template. One method is to draw the design directly onto the fabric using a permanent marker.
Another option is to trace the design onto a piece of cardboard. Tape the cardboard to the fabric. Draw over the cardboard with a pencil.
Finally, you can simply buy a premade template. There are many different types of templates available. Some templates are made of metal; others are made of wood. Most templates are designed specifically for quilters.
Materials You Will Need To Make Your Own Quilting Template
Paper – For tracing the design onto the fabric
Pencil – For marking the design onto the fabric (optional)
Cardboard – For tracing the design on cardboard (optional)
Metal ruler – For measuring the exact dimensions of the template
Scissors – For cutting the fabric
Fabric – For covering the template
Iron – For ironing the fabric
Quilt Batting – For lining the template
Tape – For holding the fabric in place while you are sewing
Thread – For stitching through the template
Making Your Own Quilting Stencil
The easiest way to make your own quilt stencil is to use a computer program such as Microsoft Word. Open the document containing the design you want to use.
Save the file as a JPEG format picture. Print the picture out on regular printer paper. Cut out each individual shape that you see on your printed image.
After you finish cutting out all the shapes, assemble them together into a single page. Tape the pages together. Now you have a complete set of stencils that you can use to create beautiful designs.
Materials You Will Need To Make Your Own Quilting Stencil
Computer – For creating the design
Printer – For printing the design onto the fabric.
Regular Printer Paper – For printing the design on
Cutting Mat – For cutting out the design from the paper
Scissors – For trimming the edges of the paper
Fabric – For covering the template (optional)
Thread – For sewing through the template
Iron – For ironing the template
Batting – For lining the template (optional)
Final Thoughts
Creating your own quilting templates and stencils can be fun and easy. If you enjoy designing patterns, then this project may be right up your alley.
Creating your own templates and stencils also saves money because you don’t have to pay someone else to do it for you. It’s a great way to save time and get started on your next quilt!
Once you have decided whether a stencil or template is the best choice for your project, you will be well on your way to making your very own quilting masterpiece!
My name is Sarah Maine and my hobby is quilting. No, I’m not retired - I’m in my early 20s and have been quilting since I was a teenager! Quilting and sewing are incredibly underrated hobbies in my opinion - and I want to bring them back.


")


