A hexagon quilt is a type of patchwork where each block has six sides instead of four. The blocks are then pieced together to create a patterned fabric.
Hexagons are often used in modern art and design, but they also have a long history in traditional quilting.
Hexagon quilts are fun to make and look great on display. They are perfect for beginners who want to explore patchwork without having to master complicated techniques.
In this article, you’ll learn how to make a simple hexagon quilt using basic sewing skills. You can use the same technique to make a variety of other patterns, including square or diamond quilts.
History Of The Hexagon Quilt
The hexagon quilt is a popular style of quilt in America. This type of quilt actually began to rise in popularity during the 1930s, and it was known as the Grandmother’s Flower Garden.
This is because the hexagons made a flower-like pattern. Thus, when you use different colored fabrics, you can make flower-like patterns which are really pleasing and attractive to look at.
However, this quilt may have grown in popularity during the 1930s; there have been templates of the hexagon quilt that range from the 1770. This template is believed to have come from England, UK. In the UK, the hexagon quilt was incredibly popular by 1803.
It is known that the women’s magazine, known as Godey, actually published a pattern for this style of quilt in 1835. This is when it was called the hexagon pattern.
In the magazine, there were full instructions on how women could easily create and complete this quilt by themselves.
You must have plenty of material, because depending on the size of your quilt and hexagons that you cut, a lot of hexagon quilts need a lot of hexagons.
You can cut larger hexagons out and use less of them, but some people prefer cutting out smaller hexagons but a larger quantity of hexagons.
This will create a much more intricate design, but will take a lot longer as you will have to do a lot more sewing.
A hexagon quilt can have a honeycomb appearance, as hexagons are associated with the same shape of a honeycomb.
Thus, when looking for patterns, you may see the hexagon template also known as the honeycomb template as well.
Thus, you should be aware of the different names that this quilt design may have. Yet it is up to you to interpret the design and the colors you want to choose for your quilt are completely up to you.
Supplies Needed
Fabric – You will need enough fabric for the top and back of the quilt and for binding the quilt as well. The amount that you need will vary on how big of a quilt you want to make. Also, it can vary depending on how large you cut your hexagons. It is a good idea to use different fabrics to cut your hexagons from to make the design of your quilt more interesting to look at.
Batting
Marking Pen
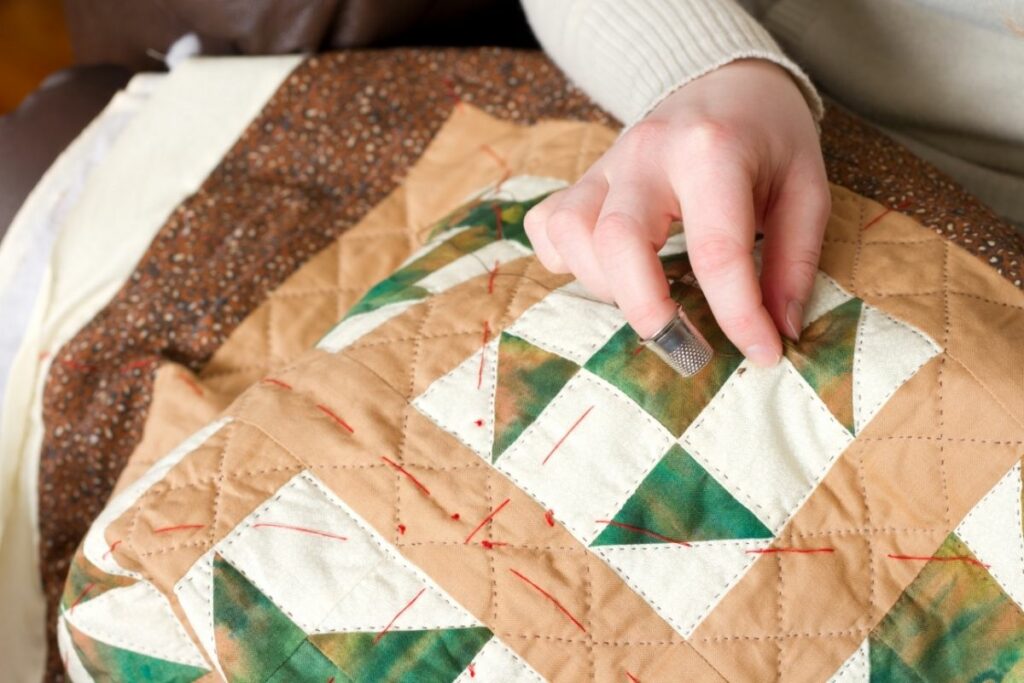
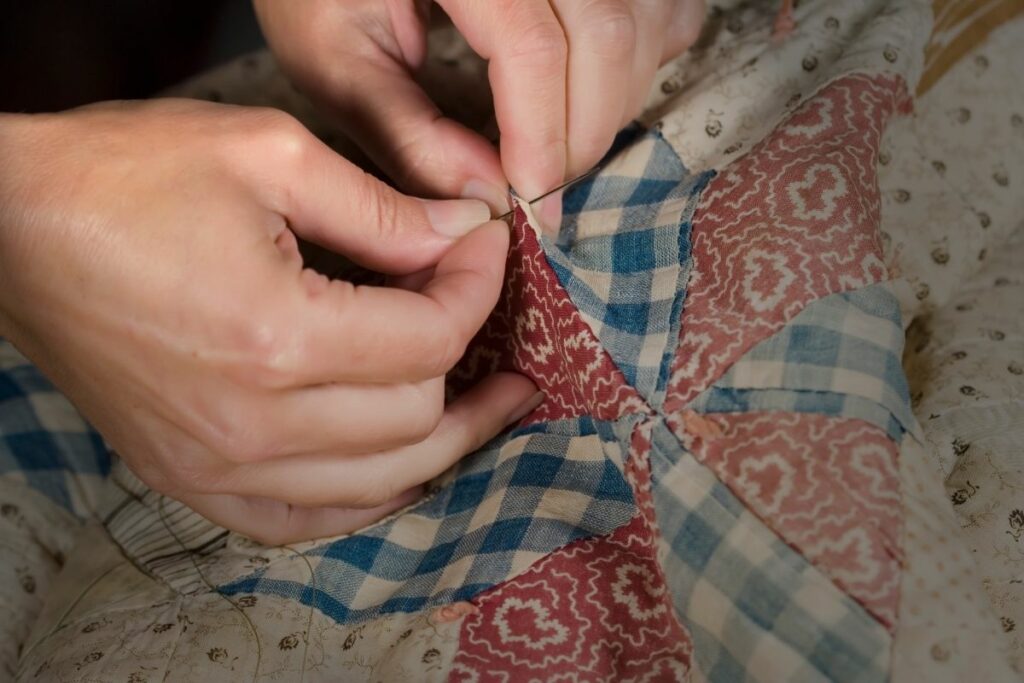
Sewing machine with thread that matches your fabrics – It is much easier to use a sewing machine than by sewing by hand. As it saves you a lot of time, however if you have the time and prefer to hand stitch you can as well.
Scissors
Rotary Cutter
Iron
Ruler – You can either use a hexagon ruler or print out a hexagon shape onto a card which you can trace around to cut your hexagons out from.
Instructions
Step 1 – Cut Out the Hexagons
Cut out all the hexagons from your chosen fabric/fabrics. Cut them using your ruler or template and your rotary cutter.
On each hexagon, mark on each corner a small dot that is around 1/4 of an inch from the edge.
This will mark the seam allowance on all your hexagons. This will help you a lot when you start piecing your hexagons together and start sewing.
Step 2 – Piece the Hexagons Together
Now is the exciting part, where you can design the look of your quilt. If you have cut your hexagons from different colored fabrics, this is the time when you can work out where you want to place them all.
I found that once you have figured out your layout, then stack the hexagons in their vertical rows/columns.
Step 3 – Start Sewing
Take two hexagons from the same column and pin them together. This is where you will be using your seam allowance that you marked at during the first step.
Begin stitching on that mark you have created, and try not to back-stitch past that mark.
Then you should stitch to the end of the side that joins those two hexagons together. Keep adding the hexagons from the same column until you have completed the whole column.
You want to keep a 1/4 inch of an open end to all the seams that you are creating along the column. Repeat this step until all the columns of your quilt have been completed.
Step 4 – Press The Seams
Now that all your columns have been completed, you need to choose which side you want to iron your seams on. It doesn’t matter which side, as long as all the seams are pressed in the same direction.
Step 5 – Sew All The Columns Together
This step can seem a little daunting, but it isn’t that bad as long as you take your time. Just focus on one seam at a time, and then the quilt will slowly start to come together.
In this step, you want to sew all the columns you have made together.
The best way to do this, is to take two columns and lay them down on each other. This is to make sure that everything is matching up.
You then want to flip the first seam over so that the right sides of both columns are touching each other.
Once everything has matched up correctly, you need to sew your first seam. When you flip the column back over, you will see where the next seam is might to go.
Keep repeating this method, and slowly you will have attached your first two columns together. Then you can repeat this step until all of your columns have been attached together to create your hexagonal quilt.
Step 6 – Iron All The Seams
Now that your quilt has been created, it is time to iron all of those Y seams that you have created. This is to get all the seams to lie as fat as possible.
You may need to spread the seams open with your hands and carefully iron the seams. I found this is a great way to get your seams as flat as possible. However, be careful to not burn your fingers.
Step 7 – Cut Away Any Excess Fabric
Once all your hexagons have been cut and pressed, you may notice some extra material that is sticking out. Remember that you want your quilt to end up forming a square or rectangular shape.
Therefore, you will need to trim off any hexagons that go over the border. Thus, you may end up with some half hexagons.
By using a rule and a rotary cutter or scissors, cut the excess fabric, so that you get straight seams and edges.
Step 8 – Repeat To Create A Back
To create a backing quilt, you need to repeat all of these steps again using your backing fabric.
Step 9 – Attach The Binding
Once all your hexagon quilts have been created, you can add binding to add the perfect finish to the quilt. Fold the binding strip in half lengthwise. Wrong sides facing, stitch along both short ends of the binding strip.
Trim the raw edge of the binding even with the stitching line. Fold the binding strip in half again, wrong sides together. Starting at the corner closest to the center of the quilt, fold the binding strip diagonally across the middle of the quilt, covering the raw edges of the quilt.
Continue folding the binding strip diagonals towards the corners, overlapping as you go. When you get close to the corner, stop and press the binding in place.
The thought of completing a hexagon quilt may be daunting, yet really if you follow the steps we have outlined above, it isn’t that bad. You need to take your time and complete one seam at a time.
Then as you get more confident, you will be able to complete the hexagon quilt with ease. These quilts can look really impressive when they are down right.
Therefore, I hope you have enjoyed this article, and it has helped you to understand how to complete a hexagon quilt.
Use this guide, next time you want to complete a hexagon quilt.
My name is Sarah Maine and my hobby is quilting. No, I’m not retired - I’m in my early 20s and have been quilting since I was a teenager! Quilting and sewing are incredibly underrated hobbies in my opinion - and I want to bring them back.


")


