After all these hours of hard work and effort, it’s finally time to start finishing up your quilt – but there’s actually a fair amount of work still left to do.
Borders, backing, binding – all of these come into the finishing process and it’s important that you make sure that you have done them all before you can say you have finished your quilt.
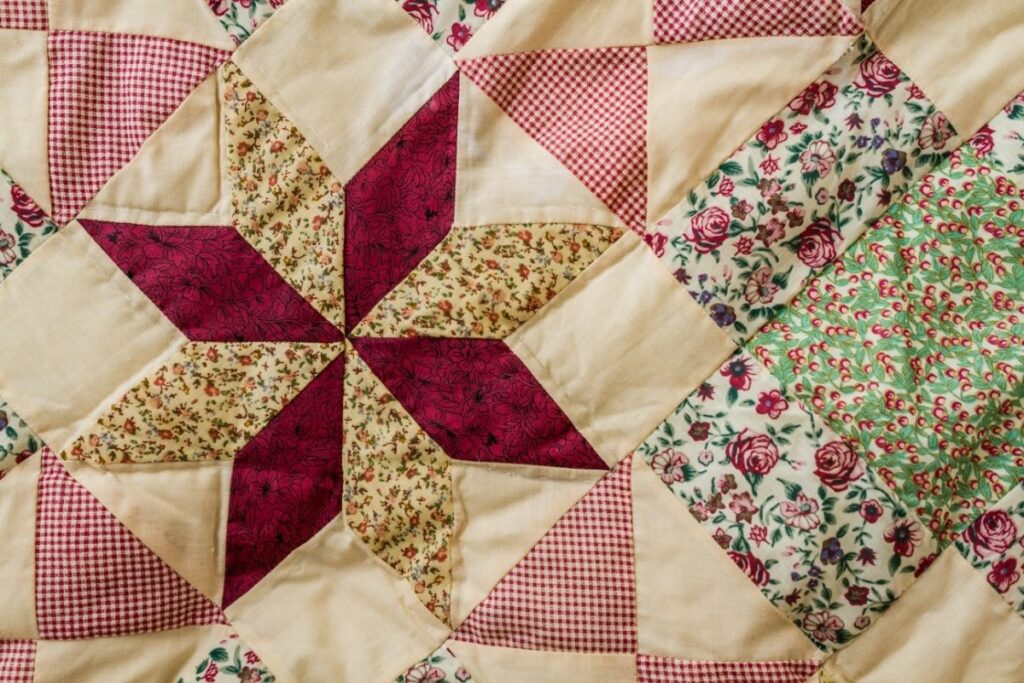
After all, nothing is worth that thinking that you are finally done with a project only to find – surprise! You missed a spot!
If you are nearing the end of making your quilt, then here is a checklist of all the things you need to do before you can finally announce that your quilt is finally completed!
What Does Finishing A Quilt Mean?
In other kinds of crafts, finishing usually means just completing.
For example, finishing a painting may translate to just doing the finer details but most of the picture is there. Unfortunately, finishing in quilting is pretty much the backbone of making a quilt.
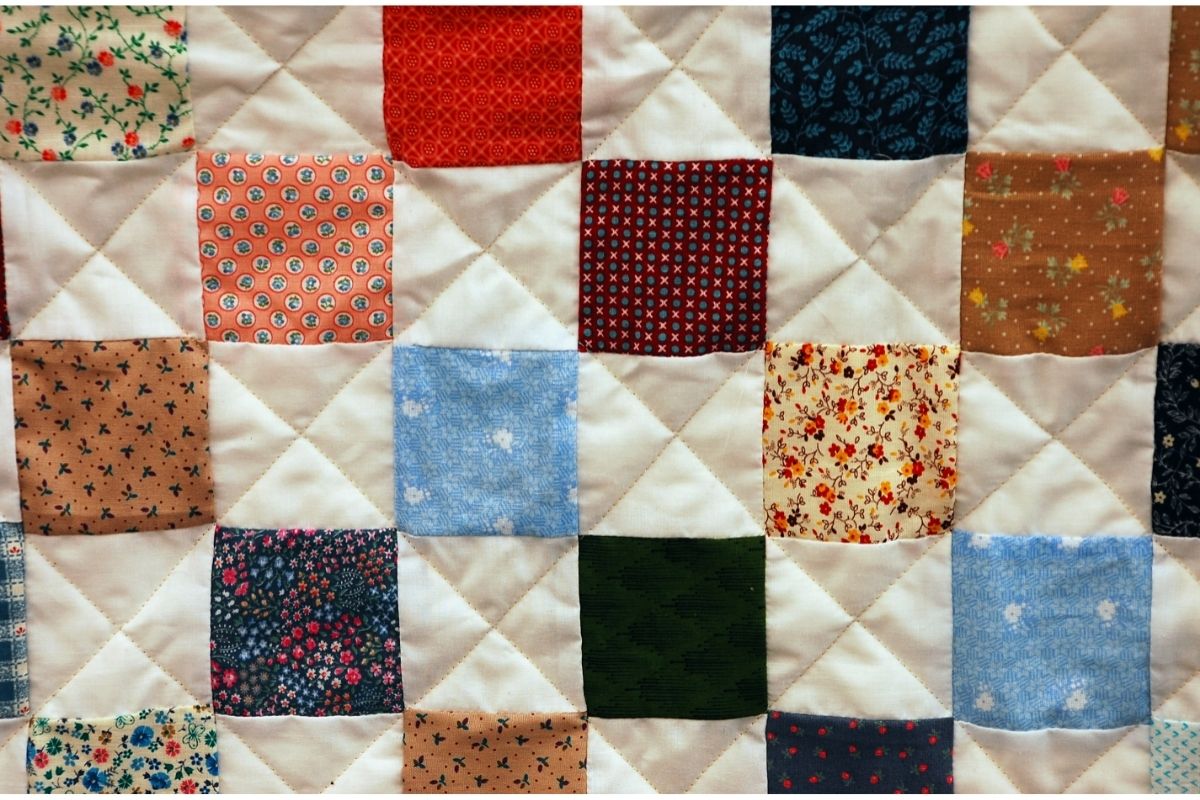
Most quilters start with the top – the pretty patchwork of colors and patterns that makes a quilt decorative and appealing.
However, once all that work is done, quilters are left with a very thin piece of material that is sometimes not even fit to be used as a blanket.
The process of finishing means turning that piece of fabric into an actual cozy quilt. This process also includes a lot of steps which involves bringing together many layers and sewing it all together.
So, finishing is by no means an unimportant part of making a quilt but it is often overlooked as many people busy themselves with designing the patterns of the quilt and how it will look.
Because of this, many people may not be sure how to finish their quilt – so keep on reading to find out.
Step One: Borders
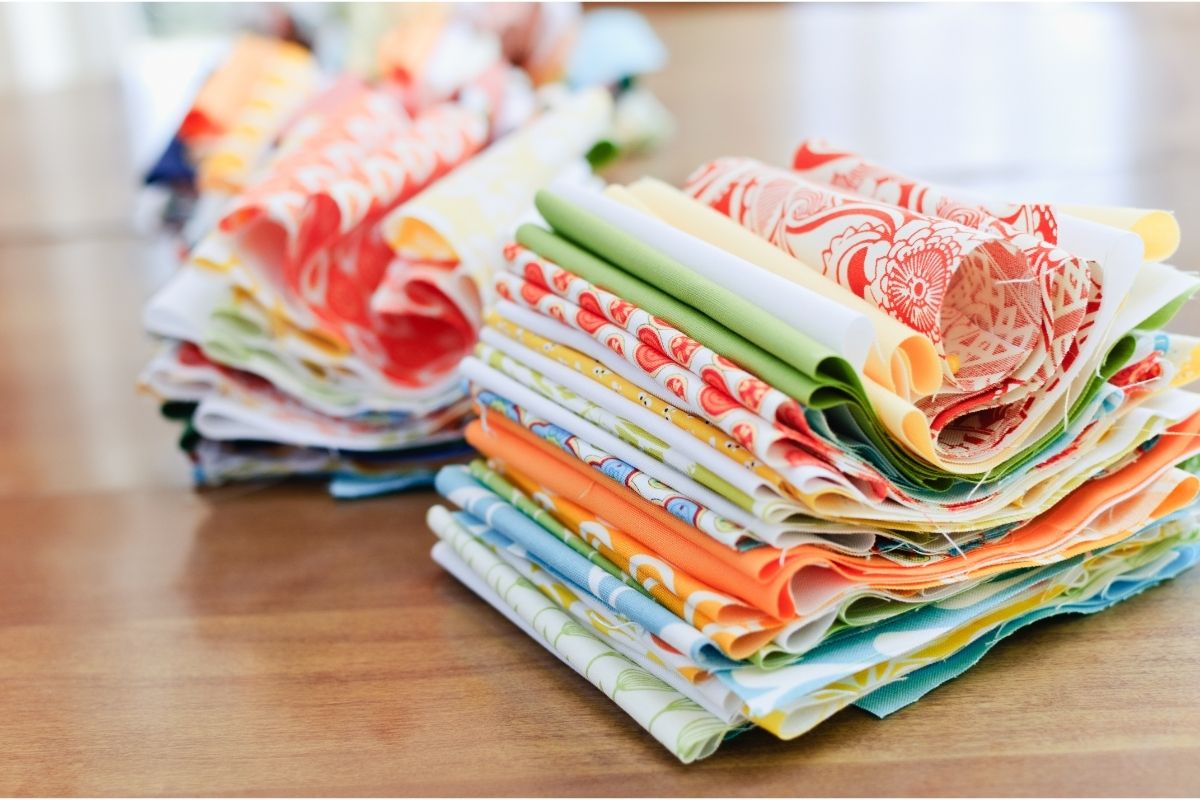
Once your top is done, it’s time to pick out the borders of your quilt.
This basically means choosing larger cuts of fabric to show your top on top of. You can have as many borders as you like and choose any colors you want.
In fact, you don’t even need one – but it does help frame the pattern of the quilt look pretty.
Carefully consider the colors you want and how big you want your quilt as the thickness of the borders can increase the size of your quilt.
Step Two: Backing
The backing is what is going to serve as the other side of your quilt, with your batting in between, so it needs to be six inches bigger than your top just in case of any errors and to accommodate for your backing.
Unlike the batting, it will be visible so make sure that you have chosen a nice fabric for your batting that is pretty and will suit the design of your quilt.
Cut out a larger piece of fabric that will be an adequate size and lay it down flat on the floor, without any creases or wrinkles. Tape it into place to ensure it won’t move.
This is going to serve as the base or your ‘canvas’ as you will be sewing everything on top of it.
Step Three: Batting
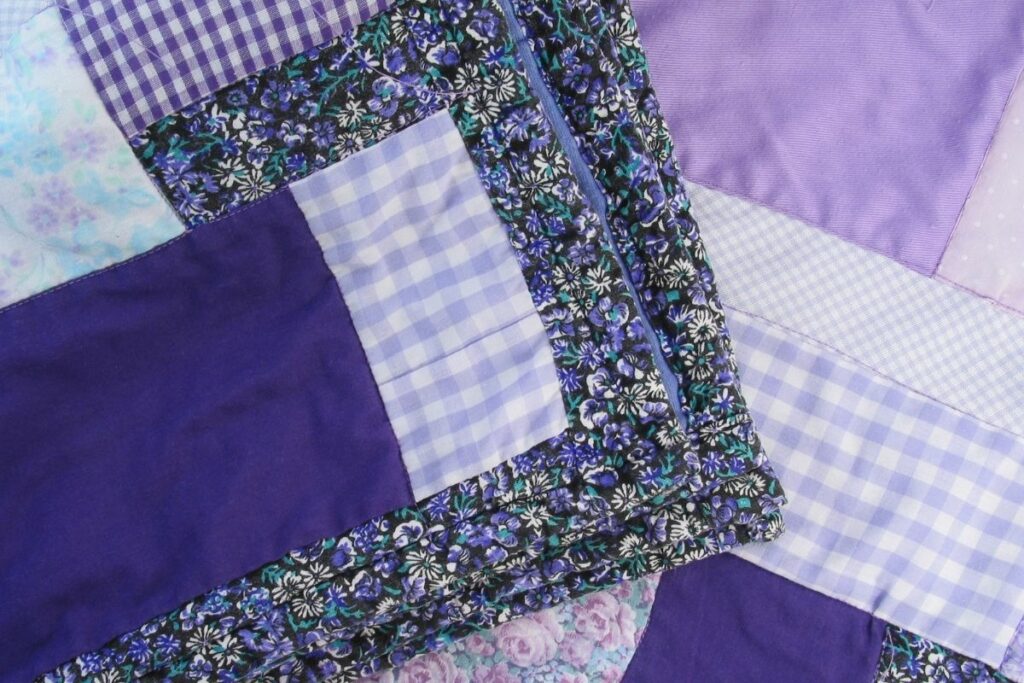
Batting is what makes your quilt a quilt – it is the soft material inside a quilt that makes it nice and warm to snuggle up with.
Batting is also very thick and comes in different materials, so choose your favorite kind of batting and get ready to cut.
Just like with the backing, your batting needs to be six inches larger than your top.
Step Four: Sandwich Time
Now you need to lay your batting on top of your backing and then the top on top of the batting.
Once it’s all laid out, pin everything in place and begin stitching.
Step Five: Quilting
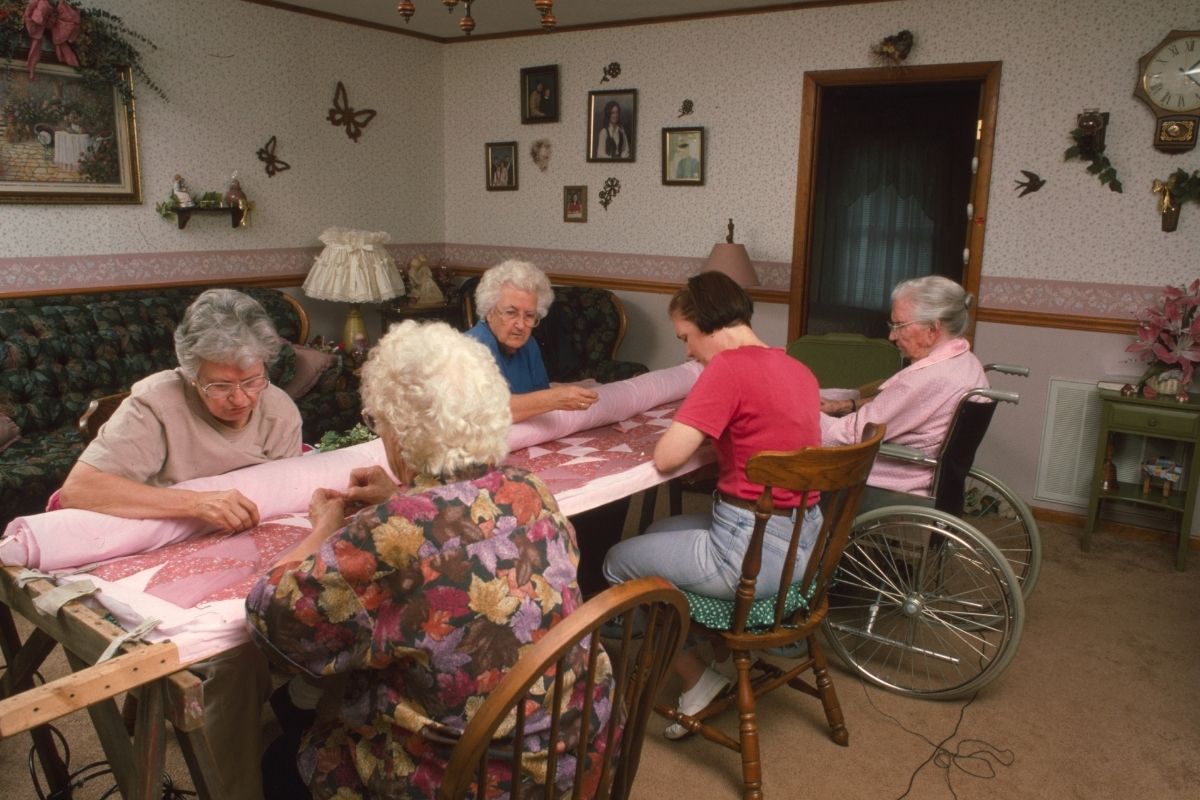
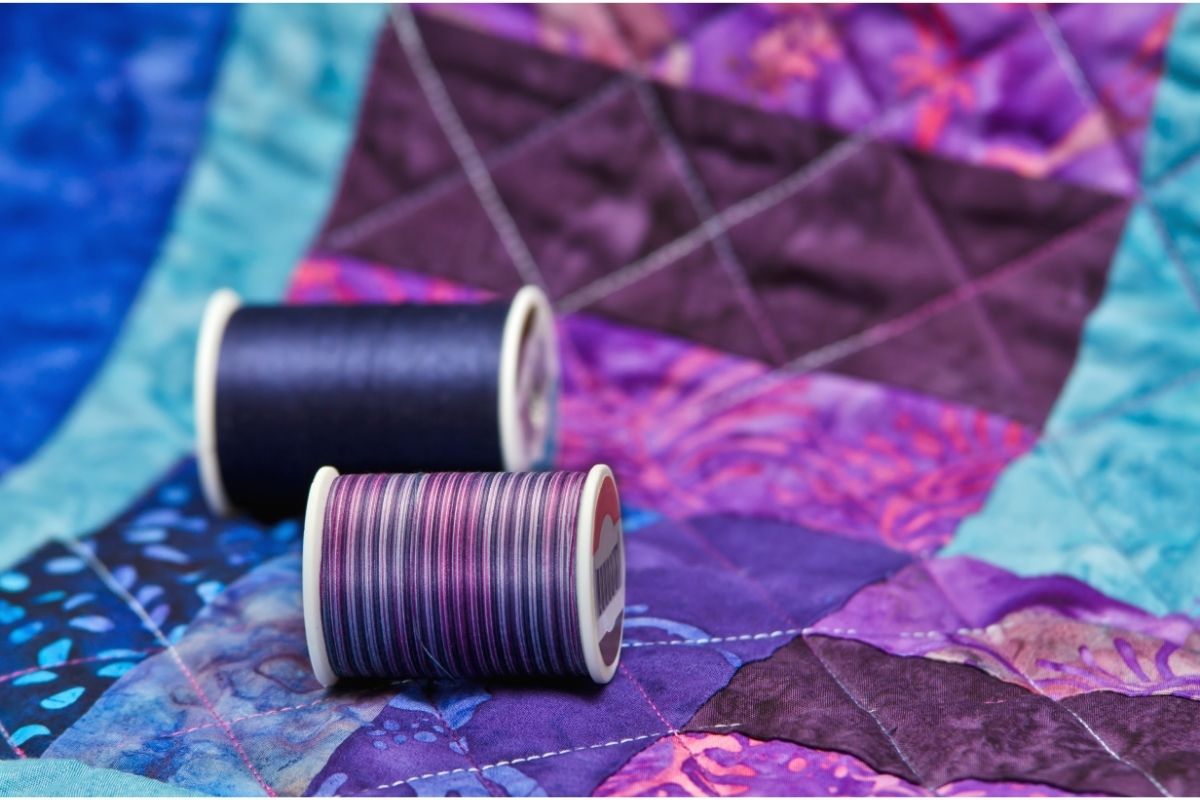
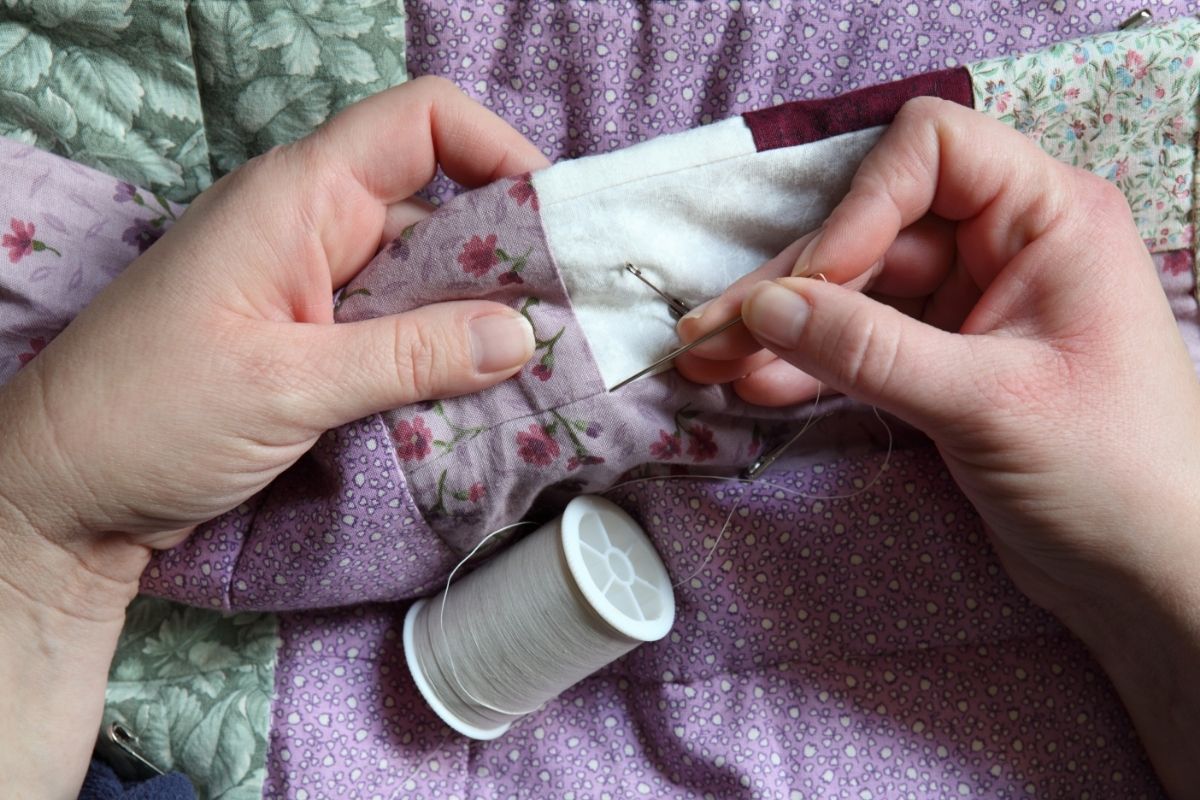
Now you just have to stitch it all together.
You may have your own different methods when it comes to stitching like stitch-in-the-ditch quilting with a machine or long arm quilting or free motion quilting.
But whichever method you choose, there is now only one step left.
Step Six: Binding
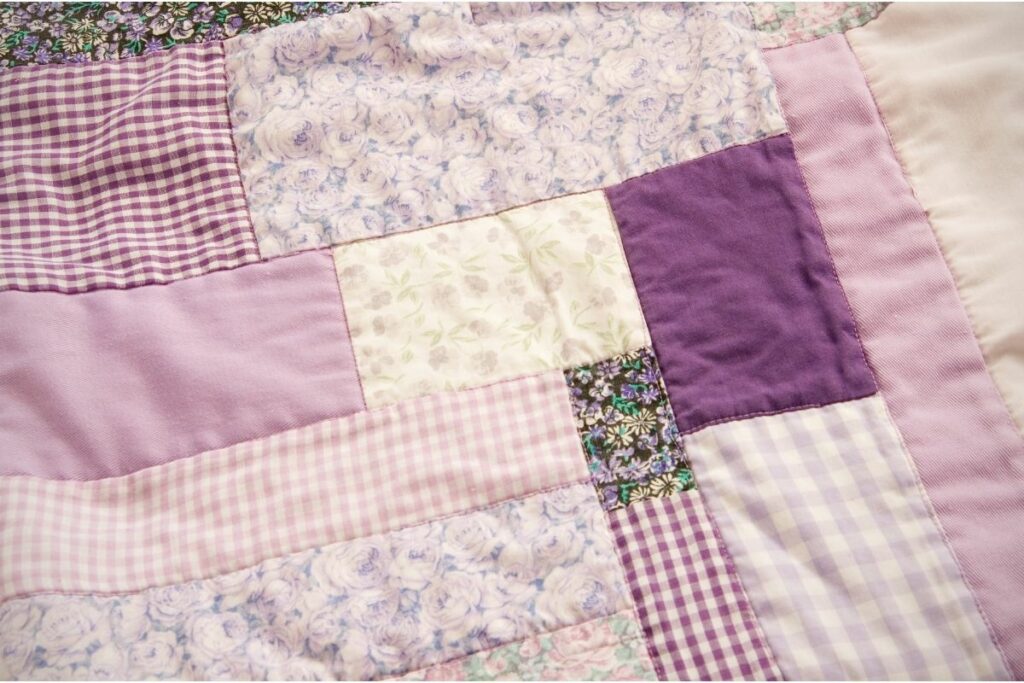
Binding is what covers up the ends of the quilt and gets rid of any long, over excess layers that are too big (most usually the batting or backing). You begin by trimming these excess off around the edge of your top layer with its borders.
When it comes to the fabric of the binding, remember to choose something that matches the pattern and colors of the backing and the rest of your top. This is what will help tie it all together.
Cut your binding up into strips (usually two and half inches thick) and remember to cut an extra one or two just in case you are caught short.
Combine your strips into one piece, iron the seams and then iron the binding in half – this will keep it in the correct shape to add to your quilt.
Stitch it all together (use pins and markings when it comes to corners) and before you know it, the binding will be attached to your quilt and it will finally be finished!
Conclusion
And with that, your quilt is officially finished! All you have to do now is iron it all out and show it off! After all that hard work and effort, you definitely deserve the praise!
Finishing is often overlooked but it’s actually arguably the most important part of making a quilt. Without it, you will only be left with a thin piece of fabric not even appropriate enough to be called a blanket!
Finishing is the process of turning your top into a quilt, by bringing together all the important layers of fabric and batting to wrap up your project and make it ready for use.
So, follow the steps of finishing in the above order – do not attempt to swap around certain steps or skip any – and you will be left with a stunning quilt handmade by yourself!
- How to Cut Quilt Pieces - April 25, 2022
- Your Simple Guide To Quilt Sizes - April 25, 2022
- How To Join A Quilt With Diagonal Seam - April 25, 2022

