This article will guide you through the art of quilting by hand, and show you how simple it can be! Read on to learn everything you need to know about hand quilting.
We will start by teaching you how to make a hand quilt out of fabric scraps from other projects, which will teach you all the basics that you will need to know for any other quilting projects you want to undertake.
Our 10-Step Guide To Creating A Hand Scrap Quilt
Step One
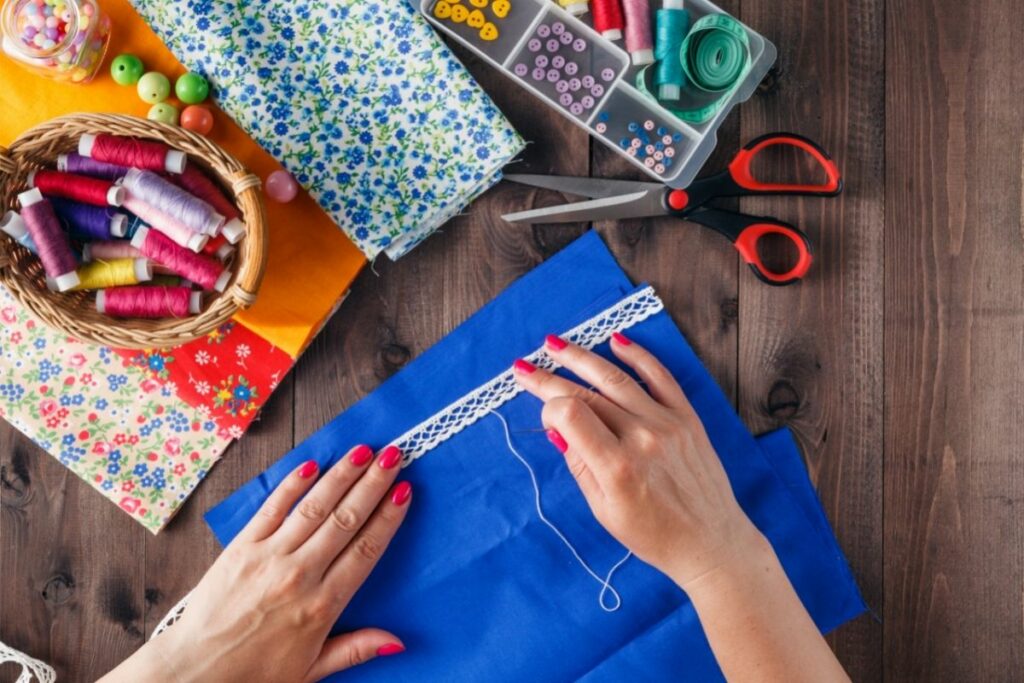
The first step, as with any project, is to plan your quilt. Gather together your scraps (after cutting them into shapes that are easy to quilt together – think squares, diamonds, and triangles with straight lines).
We use a rotary cutter and a rubber mat to ensure lines are straight and precise. Lay them out in a format that you think works – where one patch of fabric flows well into the next scrap.
Consider where your stitches will go, and if they will run across the fabric’s pattern.
This is a really, really important step – as here is where you will be able to see what kind of design you want to create. Without having a good plan, you will be sewing random bits of fabric to one another.
You may also want to consider adding some extra pieces of non-scrap fabric to your quilt so that you can use up more fabrics. We recommend that you use a meter ruler and fabric chalk/fabric markers, to mark out where your lines of stitches will go.
For example, if you use 81 five in large squares, you will end up with a quilt that is 45 inches wide, 45 inches tall, and is a 9 x 9 inch square grid.
Top Tip
If you are an inexperienced quilter or sewer, we recommend that you stick to 100% natural, not stretchy fabrics, such as cotton and linen.
Keep fabrics close to the same weight too – it can be difficult to go from a very light linen to a far thicker, flannel-y cotton.
Step Two
Once you’ve laid out your fabric, and generated a general plan of your design, you can begin the active sewing part of this project, starting by threading your needle.
Choose a needle that is thin and sharp enough to easily go through both the fabric and the pillowy batting, whilst also being thick and weighty enough to be easily manipulable.
Essentially, use as thin of a needle as you can comfortably manage, without putting any unnecessary strain on your hands, joints, or your eyes.
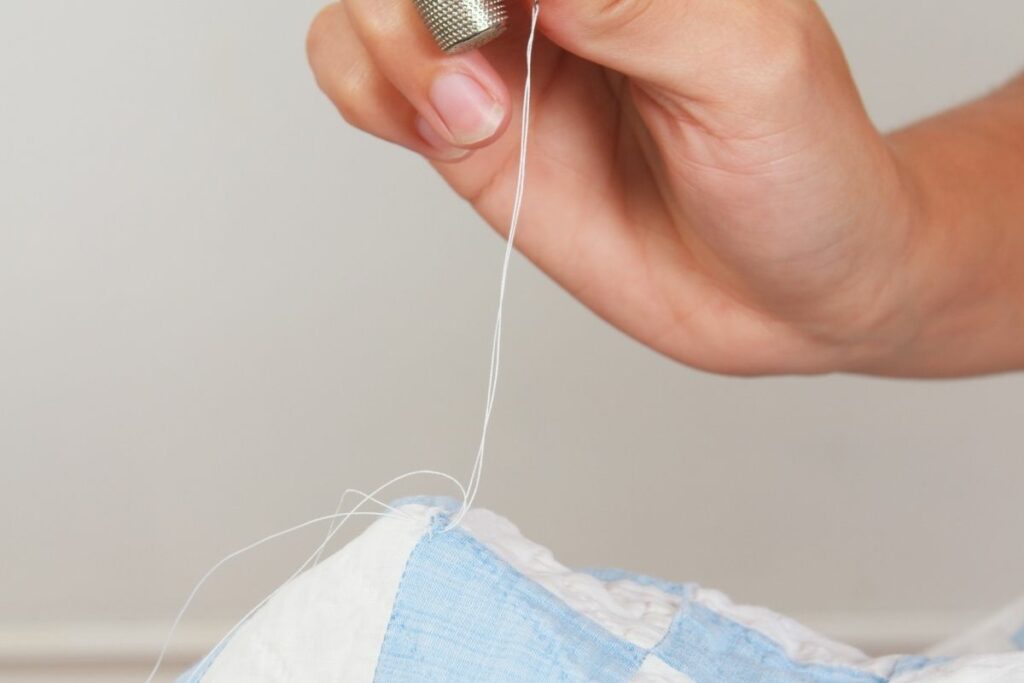
After choosing the ideal needle, you need to thread your needle with a quilting thread. Quilting thread is stronger and often thicker than regular thread.
If you haven’t been able to find a quilting thread, then you should use a regular sewing thread, but double it up, so that it is a lot less likely to snap in the middle of a stitch.
Don’t use a length of thread that is more than around 20 inches in length – it can be a bit much to manage, we find, and will lead to tangles and mistakes galore.
Step Three
Start to sew your panels of fabric together. Sew a straight line that is a quarter of an inch from the edge of the fabric panels.
It is best to mark this line in pencil before you begin to sew, so that it is an equal distance away from the edge of the panel uniformly throughout your quilt.
To make a quilt, you will have to sew through two pieces of fabric at once, so you will only have to pencil mark one half of the pieces. Line up two pieces that you want to sew together (with the pretty side that you want on the top of your quilt, facing inwards).
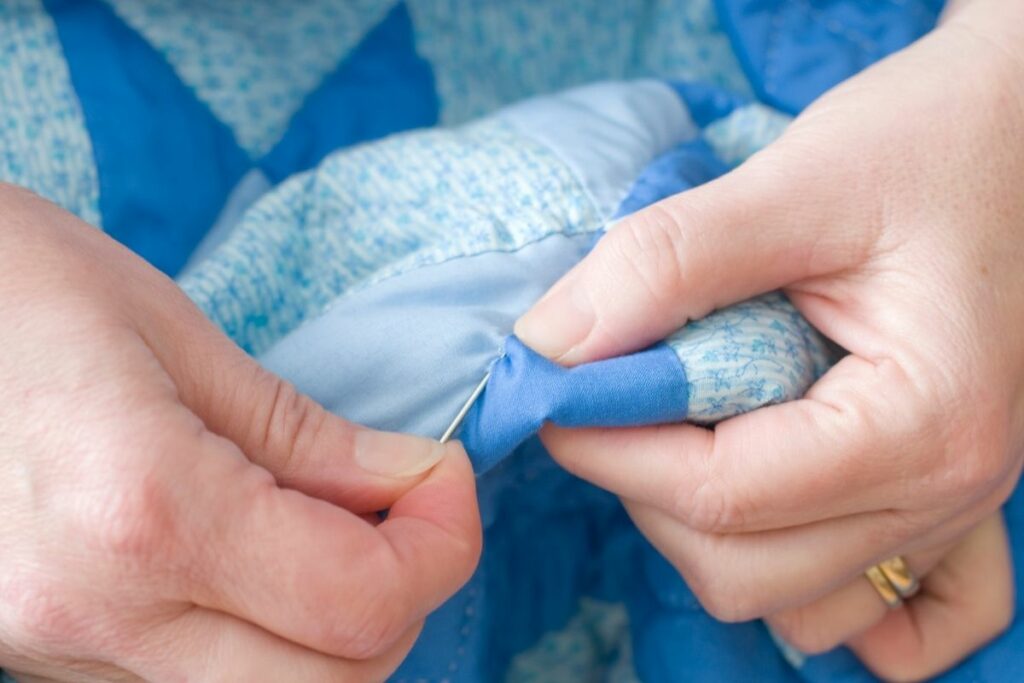
Tie a knot in the end of your thread and needle, and begin to seam the panels together. We recommend a simple straight running stitch, so you can load up a few stitches onto your needle at once. Don’t make these stitches too big, though, as the quilt won’t hold together well.
Make the stitches as small as you can. Eng your seam a quarter of an inch away from the fabric end again. Make a few back stitches to secure the end, and then cut the thread, and make a secure double knot.
Step Four
Once you have sewn together a few panels, we recommend that you get your iron out, to press the seams flat. If you usually use your sewing skill to make clothes, then you will be familiar with the importance of pressing your sewn together panels.
Unlike with garment making, when you are hand quilting, we tend to press our seams to one side (rather than ‘open’ seam pressing, where each layer of fabric is pressed onto a different side of the seam.
Step Five
Continue to sew your panels together (if you are sewing more than two simple panels, we suggest that you pin them together).
Continue to pin panels, sew together, and press, until you have the whole front of your quilt together in one, securely sewn piece.
Press the quilt top slat one last time, so that you know that the seams are all flat, and there will be no unsightly bulky patches in your quilt.
Step Six
Start to construct the layers of your quilt.
As you will be familiar with, quilts have three layers; the top, which is the bit that you have just finished off, and is the most attractively designed component of the quilt, the batting (which is the fluffy filling middle part, and provides most of the warmth of the quilt), and the backing, which is traditionally made out of one sheet of cotton or muslin fabric, but you can mix it up if you desire, so long as you are not using stretchy fabric.
To layer up your quilt, you should lay the backing fabric down first. Ensure that the ‘good’ side of the fabric is facing downwards onto the floor.
Smooth out any ripples on the fabric so that it lays flat. If you are making a larger quilt, you can even secure it down on the floor with masking tape.
Then, lay the batting down onto the fabric. Unfold very carefully, so that you don’t stretch the batting out of shape – it is a really delicate construction!
Place the top piece gently on the batting. Ensure that everything is lined up correctly, and then use pins to secure all the layers down. We suggest that you start in the middle of the piece, pinning through all the layers.
Place a pin about every 4 or 5 inches – if you are using 5-inch squares, then you should put about one pin in every square. When you reach the edge of the quilt, put a few extra pins in to make sure that everything is secured together.
Step Seven
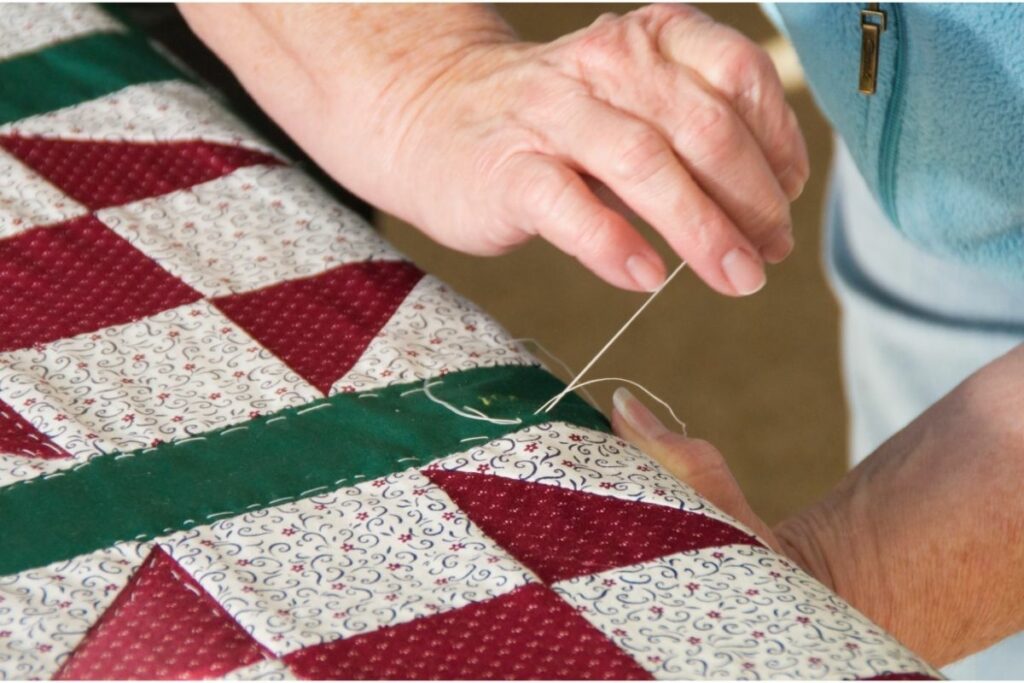
Quilt your quilt together. To do this, you will have to sew through all the layers of the quilt. If this is your first quilt, then just do straight lines of running stitches through the preexisting seams on the quilt – known as ‘stitching in the ditch’ as there is already an easy pattern of stitches for you to follow.
Focus all of your energy into making the stitches the same size, as these will be more obvious than the stitches that make up the original first seam.
For this job, you can use the same quilting thread as before, or you can opt for something a little thicker.
You can choose thread in a color that blends in, or if you’d like to show off the fact that your quilt was handmade, you can use a contrasting color of thread.
Step Eight
Bind the edges of your quilt, using a long strip of single colored fabric that wraps around the cut edges of the outside of your quilt. Choose a piece of fabric that is between two and two and a half winches wide.
Fold this wide strip of fabric in half and line the cut edges around the end of your quilt top. Sew this through the layers of your quilt.
When you reach the corner of your quilt, stop 1/4 of an inch before the corner, and you will have to fold the binding at a 45-degree angle, so it goes around without being too bulk. Continue to sew around the corner once you have folded it.
Final Thoughts
In conclusion, we hope that this guide has helped you learn how to quilt by hand. It’s a great way to get creative, and give yourself a chance to express your creativity.
If you’re looking for some inspiration, check out the rest of our website for information on quilting and sewing. Happy crafting!
My name is Sarah Maine and my hobby is quilting. No, I’m not retired - I’m in my early 20s and have been quilting since I was a teenager! Quilting and sewing are incredibly underrated hobbies in my opinion - and I want to bring them back.


")


