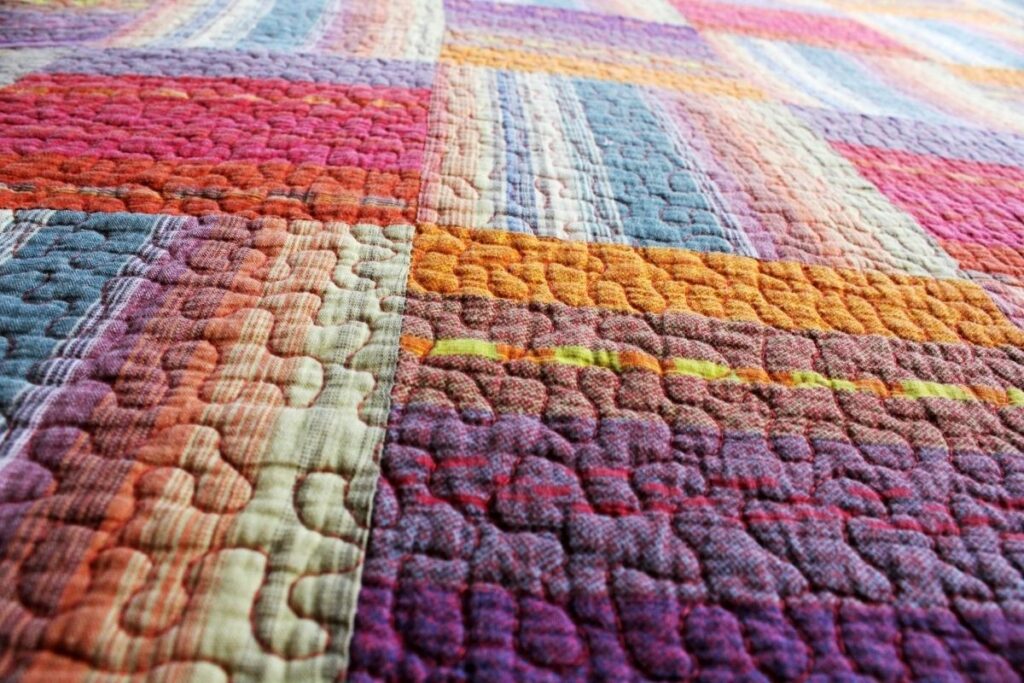
Quilting is a great hobby that allows you to express yourself through art. There are many ways to bind your quilt. The most common binding method used for quilts made today is the “overlook” or “French” style binding.
This is where the raw edges of the fabric are folded over onto themselves (like a paper fold) and then stitched together with a zigzag stitch. It’s very easy to learn and can be done by hand or machine.
In this article, I have put together a short guide on how you can put binding on your quilt easily.
What Is Quilt Binding?
Binding is a strip of fabric that is typically used to cover up the raw edge of your quilt. It can seem like a tedious process. However, binding your quilt will enhance the overall look and finish of your homemade quilt.
There are both straight grain and bias grain bindings. Straight grain binding is perfect for traditional quilts. Bias grain binding is used for pieced quilts.
Bias binding is often cut on the diagonal of the material at around 45 degrees. This means that the binding has a bit of stretch to it.
However, the binding that is cut on the straight grain won’t have any stretch. Although quilts typically have straight edges with very few curves.
As a result, a straight bias binding is a much more common choice as you don’t need much stretch and save on the amount of material that you need as well.
How Much Binding Do You Need?
The first step to putting a binding on a quilt is to cut the strips of fabric needed. To determine the size of these strips, you need to take into account the width of the finished quilt plus seam allowances.
To start, measure the perimeter of the quilt. Cut strips of fabric 1/2 inch longer than the measured perimeter. Fold each strip in half lengthwise and sew across the middle. Press the seam open.
Next, turn the binding under 1/4 inch along the long edge and press. Top-stitch around all four sides of the binding.
If you want to add a border to your quilt, simply cut strips of fabric 1/8 inch wider than the width of the finished binding. Sew them to the outside edge of the binding.
Now that you’ve determined the length of the binding, it’s time to decide what type of binding you’d like to use. There are three main types: Overlap, French, and Flat. Each has its own advantages and disadvantages.
Types Of Binding
Overlap Binding
This is the simplest way to bind a quilt. Simply overlap the two ends of the binding strips and stitch them together. If you’re using a long-arm machine, this will be the easiest option as well. You don’t even need any special tools for this process.
However, there are some drawbacks to this method. First, you won’t get much in the way of tension control. Since the binding overlaps itself, there is no way to tighten the stitching down.
Secondly, it’s not possible to add decorative elements such as buttonholes or other embellishments.
Flat Binding
This is the most popular binding method used for quilting today. In order to achieve flatness, the binding is usually sewn to the back side of the quilt before being turned right side out.
Then the raw edge of the binding is folded under and stitched down. This creates an attractive looking binding, which can also be decorated with buttons or other embellishments if desired.
There are several methods to sew a flat binding. One of the more common ones is called the “blind hem”. Here, the raw edge of the fabric is folded up and then tucked inside the fold to create a hidden seam.
After sewing the binding to the backside of the quilt, turn the quilt right side out and press the binding flat. Now the binding is ready to be attached to the front of the quilt.
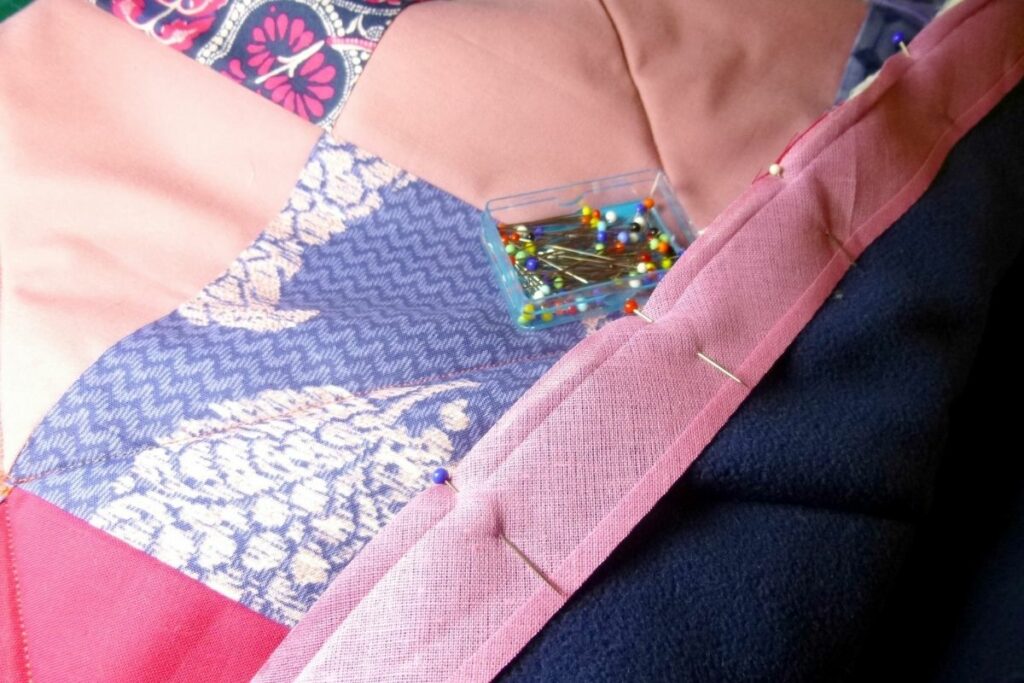
Another method is to place the binding on top of the quilt and pin it in place. Sew around the entire perimeter of the quilt, leaving about 3/4 inch open at each end.
Turn the binding right side out and press flat. Finally, trim off the excess binding and finish the edges.
Another alternative is to attach the binding directly to the quilt using pins. Start at one corner and work your way around the quilt until all four corners are bound. Once the binding is complete, remove the pins and trim away the excess binding.
French Binding
This is another popular binding method used for modern quilts. Similar to the flat binding, the French binding starts with the raw edge of the backing fabric folded under.
Unlike the flat binding, however, the French binding is sewn to both sides of the quilt. This means that when you turn the quilt right-side out, the binding is already attached to the front of it. It doesn’t matter where you start, so you can begin anywhere.
The French binding is very similar to the flat binding. The only difference is that instead of folding the raw edge over once, it’s folded twice.
When attaching the binding to the front of the project, simply fold the raw edge over again and continue from there.
If you want to add decorative elements to your binding, you have several options. For example, you could add small buttons along the edges of the binding. Or you could embroider initials or other designs onto the binding.
Once you’ve decided how you would like to decorate your binding, it’s time for the final step. Before you begin stitching, make sure that you have enough length of binding left to cover the entire quilt.
Also, double check that you have enough width to accommodate the size of the quilt. Make sure that the binding isn’t too tight or too loose. This will ensure that the finished product looks professional.
Once you’ve determined the correct amount of binding required, cut the binding into equal sections. Begin by placing the first section of binding on the wrong side of the quilt. Stitch the binding to the quilt, starting at one corner.
Continue working your way around the quilted area until all four corners are completed. At this point, stop stitching and flip the binding over to the right side of the quilt and press the binding flat against the quilt.
Now that the binding has been stitched to the quilt, it’s time to stitch the binding to itself. To do this, fold the binding over to the wrong side of the binding and mark the center crease line.
Next, fold the binding back to the right side of itself and align the center crease lines. Pin the binding in place and stitch the two pieces together. Repeat this process for the remaining three sections of binding.
When you’re done, carefully remove the pins and trim any extra binding. Then, use an iron to smooth out the binding and remove any wrinkles. If desired, you may also apply a spray of starch to the binding to help keep it smooth and wrinkle free.
Navigating The Corners
The corners of your quilt may be the most difficult part to get right. Sometimes practice makes perfect with corners.
I would suggest, as you get close to a corner, stop stitching when you are 1/4 of an inch away. Back-stitch and remove the quilt from the machine.
Then fold over the corner and pin the other side of the binding in place. Repeat this for each corner, for perfect corners. However, practice makes perfect.
Why Would You Machine Bind A Quilt?
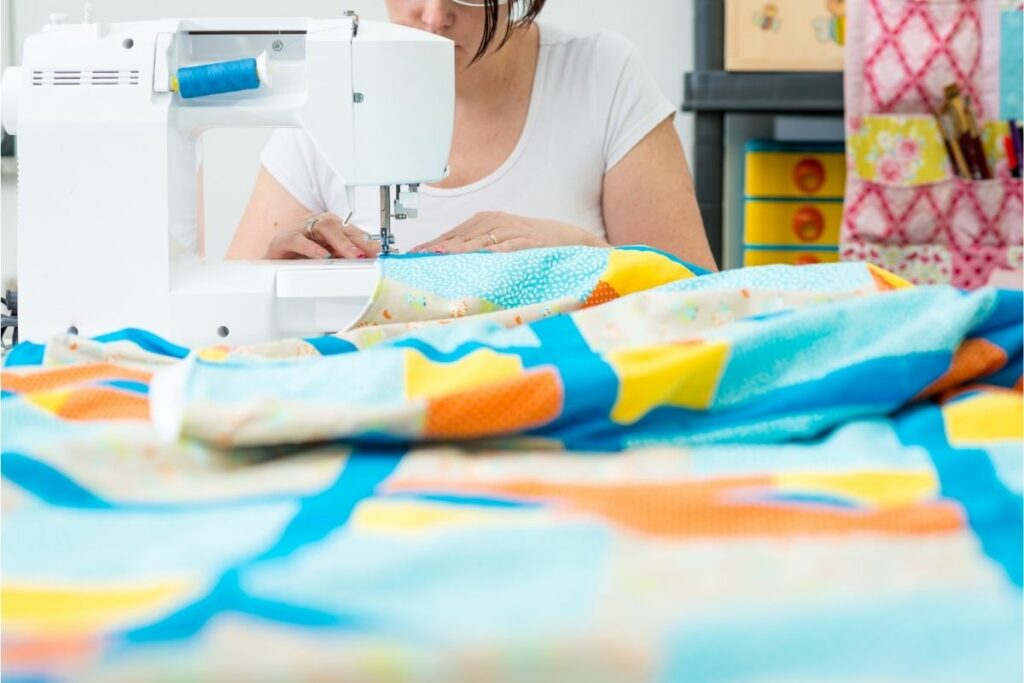
There are several reasons why you would want to machine bind a quilt. If you don’t know how to do it by hand, it will save time and effort.
You can also use a sewing machine instead of a needle and thread. A good reason to do so is if you are using a lot of different fabrics in one project.
For example, if you are making a baby quilt, you might not want to sew all those tiny pieces of fabric together by hand. In addition, you could make a few mistakes when stitching them together.
With a sewing machine, there is no risk of ruining the entire piece of work because of an error.
Choosing which binding method you choose depends largely on what type of quilt you’re making. If you plan to machine-quilt your quilt, you’ll probably prefer the flat binding.
However, if you’d rather hand-stitch your binding, then the French binding is definitely the better choice.
Conclusion
In this article, I have put together a couple of ways on how you can bind your homemade quilt. You can either hand stitch it or use a machine. However, a machine will take less time and give you a lot more control over the binding.
When it comes to binding your quilt, it can be tricky, but the more you do it, the better it will become. I hope this article has given you some insight into how to bind your quilt.
My name is Sarah Maine and my hobby is quilting. No, I’m not retired - I’m in my early 20s and have been quilting since I was a teenager! Quilting and sewing are incredibly underrated hobbies in my opinion - and I want to bring them back.


")


