If you’re just getting started in the world of quilting, then this is one of the most common questions that most beginner quilters find themselves asking.
Quilts are very useful for keeping warm during cold weather. They also provide comfort and warmth to those who sleep under them.
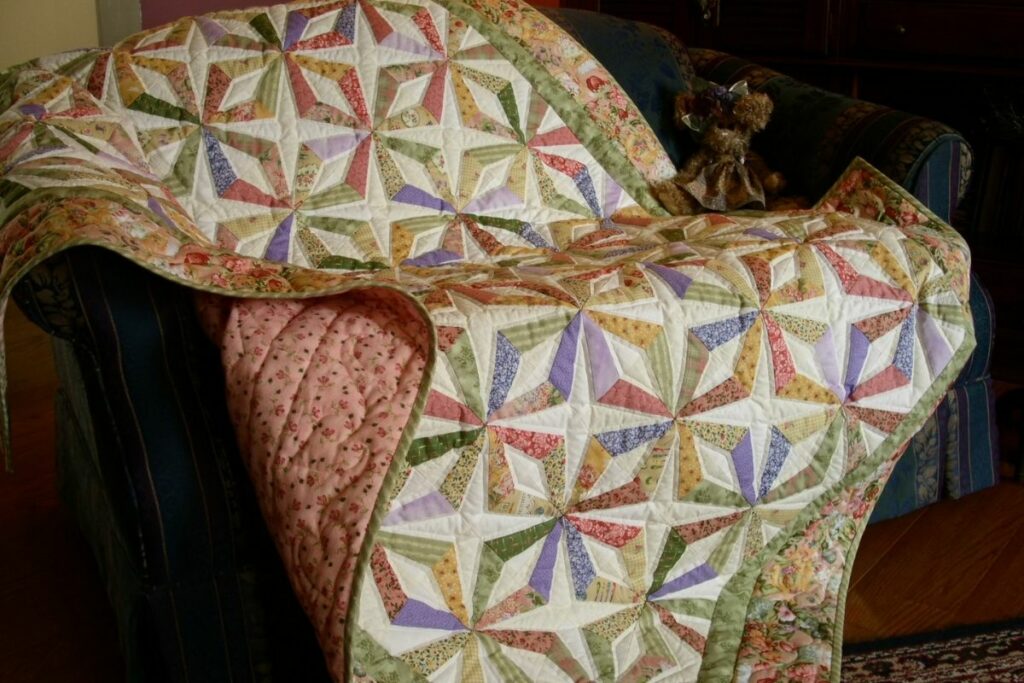
Quilting is a craft that involves piecing together fabric or other materials into a decorative pattern. There are various types of quilts such as patchwork, appliquéing, and embroidery.
In this article today, we are going to be showing you how to quickly and easily sew a quilt using the diagonal seam bind method.
This particular joining method is beginner-friendly and often requires far less time and effort compared to other methods. In other words, this method is super easy to learn and follow!
The steps involved in this process are simple and straightforward. You can make any type of quilt using this technique.
So, whenever you’re ready, just keep reading to discover how you can join your own quilt using a diagonal seam.
How To Join A Quilt With Diagonal Seam
Using a diagonal seam to join the blocks of your quilt together is one of the most simple sewing methods to opt for. Keep reading to learn how to do it:
Step One: Choose Your Fabric
The first step is to choose the fabric that you would like to use to create your quilt! Keep in mind that you will need to make sure that you have bought enough fabric to complete the quilt that you are making.
Ideally, we recommend that you make sure that the fabrics you select complement each other, although this is entirely up to you. You can use different colors and patterns to design your quilt. If you like bright and cheerful colors then go for it!
On the other hand, if you prefer muted colors then you could opt for a more minimalistic theme.
These squares will be used to form the blocks of your quilt. Each square needs to measure 8 inches by 8 inches to ensure that the quilt is joined together perfectly.
Once you have cut out your fabric pieces, set them somewhere safe so that you don’t lose any important blocks – otherwise, you’re not going to be able to achieve the diagonal seams.
Step Three: Sewing Diagonal Seam
Even though sewing a diagonal seam is one of the easier stitches to do, it can still be a little tricky if you haven’t used it before.
Essentially, sewing a diagonal seam is quite similar to sewing a straight line, the only difference is that you’ll be sewing in a diagonal direction rather than a straight one.
With this in mind, you will be ready to begin sewing your diagonal seams. To do this correctly, start off by placing one of your fabric blocks on top of another.
Then, once you have done this, you can then go ahead and carefully align the edges so that they meet at a right angle.
As a side note, it is very important that you make sure that your two fabric blocks are meeting each other at a right angle, otherwise you are going to discover that you are unable to correctly sew in a diagonal direction.
Once you have done this and your blocks are aligned at a right angle, you can then proceed to begin sewing them together with the diagonal seam. In order to do this correctly, all you’re going to need is to sew in the same way that you would if you were joining your blocks together using a straight seam.
Sew along both sides of the edge until it meets the next block. Then, once you have done this, simply go ahead and repeat this process until all the blocks are joined together.
When you get to the last block and you have finished sewing it, you are then going to need to press the seam open. This means that you are going to want to iron the seam flat so that there are no creases or folds. Once you have pressed the seam open, you can then trim away any excess fabric. Remember to keep an eye out for any loose threads as well.
Step Four: Finish Off Your Quilt
Last but not least, as soon as you have completed your quilt and you’re happy with the diagonal seams, you can then go ahead and finish it off by adding any additional finishing touches that you would like to add to your complete quilt.
There are many ways in which you can do this depending on what kind of look you want to give your quilt. Some people like to add extra details such as embroidery or appliquéing.
On the other hand, you might simply prefer to just leave your quilt looking simple and clean as it is. Whatever style you decide to go with, remember to keep in mind that the final product should reflect the overall theme of your quilt.
Final Thoughts
There we have it! Hopefully, now that you have taken the time to read through this guide, you are now feeling a lot more confident about how to join your fabric blocks together using the diagonal seam method.
Remember, just like we have already touched upon above, the diagonal seam can take some getting used to, so don’t feel disheartened if you don’t get it right straight away. Practice makes perfect!
My name is Sarah Maine and my hobby is quilting. No, I’m not retired - I’m in my early 20s and have been quilting since I was a teenager! Quilting and sewing are incredibly underrated hobbies in my opinion - and I want to bring them back.


")


