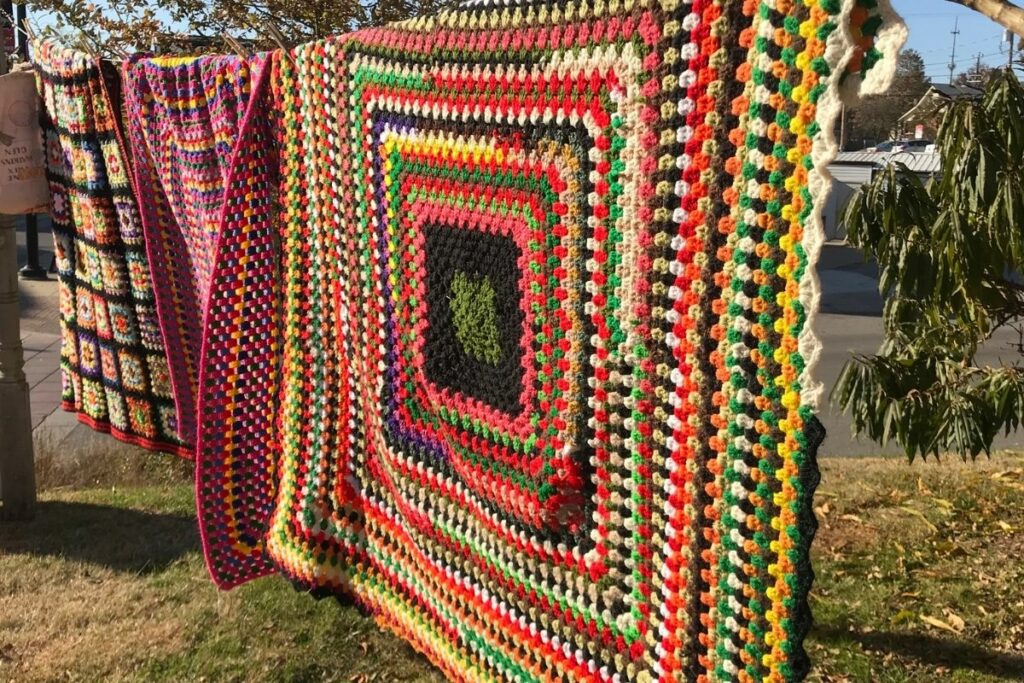
Hanging a quilt on a wall sounds straightforward, but there are many different things to keep in mind. You might want to hang a quilt for decoration purposes, or perhaps your quilt has gotten wet and you need to try it out.
Whatever the reason, you’ve come to the right place! In the guide below, we’re going to take you through everything you’ll need to know about hanging a quilt on the wall.
We’ll give you a step-by-step guide, taking you through everything you’ll need to know to make sure you don’t miss anything!
We’ve also made sure to include a short FAQ section to help with some other questions around this issue.
First Things First: How To Measure Your Quilt
Before you can begin hanging your quilt, you first have to measure it. This is an important step because if you don’t do this correctly, then you could end up having problems later on.
To get started, you’ll need to find a flat surface that’s at least 8 feet long (2.5 meters). If you don’t have one of these available, you’ll be able to use a piece of cardboard instead.
Next, lay down your quilt so that you can see both sides. Then, take a tape measure and start measuring from the top edge to the bottom edge.
Make sure to mark each measurement as you go along. Once you’re done, write down the measurements on a piece of paper.
Now that you’ve measured your quilt, you’ll need to decide how high you’d like to hang it. The most common height is between 3 and 5 ft (1 and 1.5 meters), but you may prefer something higher or lower depending on what kind of look you’re trying to achieve.
For example, if you’re looking to create a more modern look, then you might choose to hang your quilt at 4 ft (1.25 meters) while if you’re looking to add some color to your room, you might choose to go with a higher option.
Once you’ve decided on the height, you’ll next need to figure out where you want to put your hooks. There are two main options here: either you can put them directly under the quilt, or you can put them above the quilt.
If you plan on putting your hooks directly under the quilt then you’ll just need to cut off any excess fabric to ensure that they fit underneath.
However, if you plan on placing your hooks above the quilt, then you will need to account for the fact that your quilt won’t sit perfectly flush against the wall. Instead, you’ll need to leave a gap of approximately 2 inches (5 cm) on each side of the quilt.
If you’re still unsure which method you should use, then you can always ask someone who knows about quilts for advice. They’ll be able to tell you whether or not you should opt for one method over another.
Step By Step Guide: How To Hang A Quilt On The Wall
Follow our step-by-step guide below to hang your quilt on a wall!
Step 1 – Placing Hooks
Now that you’ve figured out how tall you want your quilt to be, you’ll need to think about where you want to put the hooks. If you plan on using the same type of hook throughout, then you’ll probably want to buy them online.
Otherwise, you’ll need to search for somewhere local that sells hooks. You can check out our guide on how to buy a hook for more information.
Step 2 – Prepare Your Quilt
Next, you’ll need to prepare your quilt. Depending on the size of your quilt, you may need to hem it before you begin. Hemming involves cutting off the excess fabric at the edges of the quilt and folding it back into itself.
This ensures that there aren’t any loose threads or uneven seams. It’s a good idea to practice this technique on a smaller version of your quilt first.
Step 3 – Prepare Your Wall
Once you’ve hemmed your quilt, you can now move on to preparing your wall. Before you begin, you’ll need to cover the area where you’re planning to hang your quilt.
This means covering up any holes or cracks that could cause water damage. Also, make sure that you remove any paint or wallpaper that’s already present.
Step 4 – Attach Hooks To Wall
Once you’ve prepared everything, you’ll need to attach the hooks to the wall. First, you’ll need to drill small holes through the wall and into the hooks themselves. These will allow the screws to pass through without causing too much damage.
After you’ve drilled the holes, you’ll need to screw the hooks into place. You can do this using an electric screwdriver or even a hammer and nails. Be careful when using tools such as hammers because they can easily break things.
Step 5 – Finishing Touches
When you’ve finished hanging your quilt, you should also consider adding a few finishing touches. For example, you might like to add some decorative tassels to your quilt.
So there you have it! Hanging a quilt on a wall isn’t the most difficult process in the world, but there are a few things you need to keep in mind before you get started, just so that you can be sure everything goes smoothly!
We hope that this article has told you everything you need to know, but if you still have some additional questions, continue reading for our Frequently Asked Questions section.
Good luck hanging your quilt!
Frequently Asked Questions
Can I Buy A Quilt Hanger?
Yes, you can. There are many different types available on the market today. However, we recommend buying a quality product from reputable manufacturers. Here are some examples of what you can find:
Hook-and-loop fasteners (also known as Velcro)
Metal rings with plastic loops
Tapered metal rings with plastic loops
Wooden dowels
If you’d prefer to use something other than these options, you can always look for alternatives online. Just remember to read reviews and see what people say about each option.
What Is The Best For Heavy Quilts?
The best type of hanger is going to depend on how heavy your quilt is. If you want to hang a very light quilt, then you don’t need anything special.
However, if you plan to hang a heavier quilt, then you’ll probably need something stronger.
Is It Possible To Use A Wooden Dowel Instead Of Metal Rings?
You certainly can. Wooden dowels come in various sizes, which makes them perfect for hanging quilts. They’re also easy to install, making them ideal for beginners. Plus, they won’t rust over time.
However, wooden dowels aren’t suitable for every situation. For example, they can only support weight at their ends. So if you plan to hang your quilt off its center, then you may not be able to use a wooden dowel.
What Is A Quilt Clamp?
A quilt clamp is a long strip of wood that you can use to hold down your quilt while you work on it. They come in various sizes depending on how big your quilt is.
The best thing about them is that they don’t require any drilling or special equipment. Simply cut them to length and then slide them under your quilt.
What Tools Do I Need To Use A Quilt Clamp On My Quilt?
You won’t need any tools to use a quilt clamp. All you’ll need is a pair of scissors and a saw. If you want to cut the strips yourself, you can use either a hacksaw or a jigsaw.
Do I Have To Drill Into My Walls?
No, you don’t have to drill into your walls at all. You shouldn’t even use a power tool unless necessary. Instead, you should use a hand drill or even a nail gun.
How Long Does It Take To Hang A Quilt?
This depends on the size of your quilt and the type of hook you choose to use. Generally speaking, it takes around 10 minutes per side.
What Is A Sewing Machine?
A sewing machine is a device that allows you to create items from scratch. Most people use these machines to sew clothes, bags, blankets, pillows, and other household goods.
However, many people use their sewing machines to create other types of products as well.
The best way to learn how to sew is to start with something simple. Once you feel comfortable enough, you can try making clothing, home decor items, and other projects.
How Much Does A Sewing Machine Cost?
Most sewing machines cost between $100 and $400. Prices vary widely depending on the brand and model. You can expect to pay more for higher-end brands like Brother and Singer.
My name is Sarah Maine and my hobby is quilting. No, I’m not retired - I’m in my early 20s and have been quilting since I was a teenager! Quilting and sewing are incredibly underrated hobbies in my opinion - and I want to bring them back.


")


