How would you describe your style of quilt making? Are you a free motion or applique kind of person? Or maybe you prefer piecing together blocks of fabric?
Whatever your approach, there are some things you should consider before starting your next project. Quilting has become a trendy hobby over the last decade.
The craft involves sewing together pieces of fabric into a patchwork design. Quilts can be used as wall hangings, bedspreads, table runners, pillows, etc.
There are several ways to create a quilt. Some people prefer to piece their designs together from individual fabrics, while others sew them together using a template.
Regardless of your preferred method, there are a few essential considerations to keep in mind.
If you’re new to quilting, it’s always best to start with simple projects so that you don’t overwhelm yourself. Many beginner quilters find it easier to work on a small scale first.
This will help you master the basics of quilting techniques without spending too much time on complex patterns and designs. It is also helpful to choose a color scheme that matches your home decor.
For example, if you have a traditional farmhouse theme, stick to pastel colors like sage green, cream yellow, soft pink, light blue, and white for your quilted items.
You can learn how to make a quilt by watching videos online, purchasing books, and attending weekend workshops at local shops.
While these options may seem appealing, they aren’t necessarily the most cost-effective way to get started.
However, there are plenty of websites where you can purchase ready-made quilts at discount prices. Plus, you can buy kits that include everything you need to make a quilt.
Whether you go the online or equipment route, it’s essential to know what materials you’ll need. Here are the basic supplies required to make a quilt:
Fabric
This is probably one of the most expensive parts of making a quilt. If you want to create an elaborate pattern, you’ll likely need to spend hundreds of dollars on a single yard of fabric.
But that doesn’t mean you have to pay the total price. You can often find discounted fabrics at your favorite craft stores.
Still, it’s best to shop around when buying because you won’t know what type of material you’ll receive until after buying it.
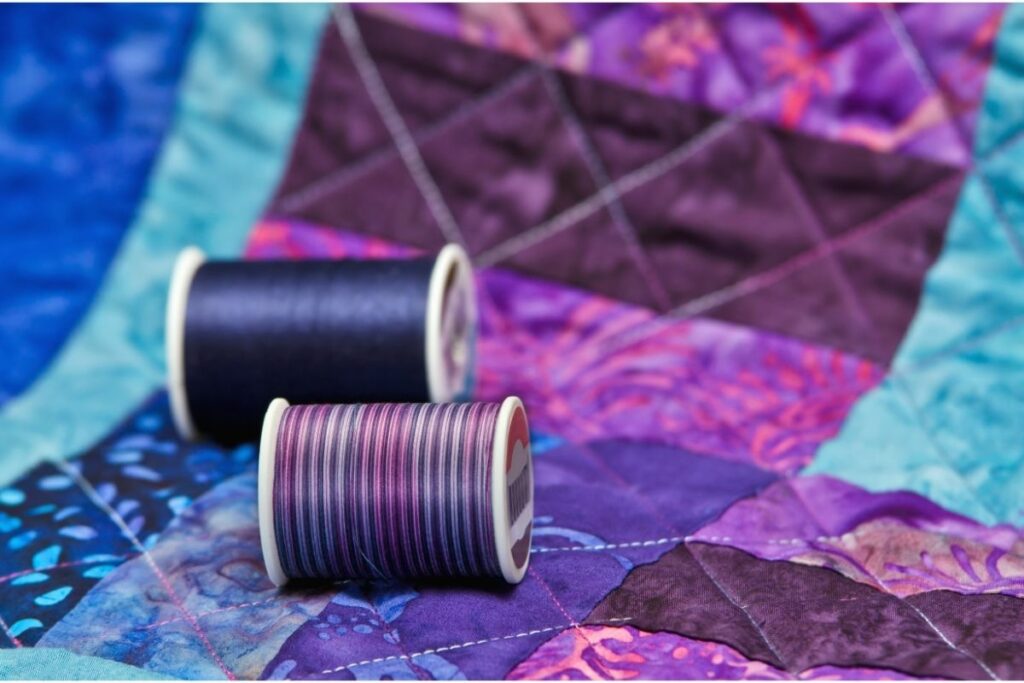
Thread
Quilting requires threads of different types. Cotton threads work well for quilting, although other fibers can be used. Be sure to use the correct yarn weight depending on the fabric you’re working with.
Scissors
Cutting fabric is perhaps the most tedious part of creating a quilt. If your scissors break easily, invest in quality ones.
Rotary Cutter/Mat & Cutting Mat
A rotary cutter allows you to simultaneously cut out multiple layers of fabric. Use a cutting mat to protect your floor from glue splatters.
Basting Spray
Basting spray creates a flexible seal between two layers of fabric. Basting spray can save you hours during the quilting process when used correctly.
Fuse
Fusing fabric protects the edges of each layer of material as you stitch them together. Iron it with low heat to fuse the fabric, then press the seams open.
Stitch Pusher
Stitching a quilt can take up a large portion of your day if you do it manually. Instead, use a stitch pusher to automate the process.
How to Start Quilting – What You Need to Know Before You Get Started?
An excellent place to start learning how to quilt is YouTube. Many great tutorials are available that show how to select fabric, assemble pieces, and sew them into a finished quilt.
With this information, you can begin to design your own quilts and even sell them!
You might think that quilting is only for those who enjoy sewing. Still, the truth is that anyone with patience and determination can learn how to quilt.
Even if you haven’t had any experience with needlework before, you will quickly discover that quilting is similar to embroidery – just without the hoop.
The most significant difference is that when you quilt, you’ll typically work directly with a piece of fabric instead of paper patterns. It’s not difficult to learn, but it does require practice and perseverance.
Many people have made their first quilt without knowing much about sewing or embroidery. They bought some fabric, found a tutorial, and tested their skills!
Although it’s possible to complete a project like this successfully, you’ll want to keep a few things in mind while getting started. First, the size of your quilt depends on how big you want it to be. Smaller projects require more stitches than more significant projects, so plan accordingly.
Also, consider the amount of fabric you’re going to use. For example, if you’re planning to make a throw blanket for your couch, you’ll need less material than creating a king-sized bedspread.
Finally, once you’ve chosen a design, remember to pick complementary colors for every color in the design. Once you have your materials ready, you’re all set to start!
For this lesson, you’ll choose a simple pattern and follow along through four steps:
Determine which direction you’d like to go.
Decide on a layout.
Measure the space where you’re going.
Create a sketch.
Each step includes tips on what to look for and examples of the finished product. By following these easy steps, you’ll be able to find the perfect pattern for yourself while still having fun. So let’s explore these four steps one by one.
Step 1: Decide On Your Layout
This may seem straightforward, but there are several ways to lay out a quilt. In general, most people prefer a horizontal orientation because it makes the final quilt appear longer. But it also means that you need to cut an additional strip of fabric at the end of the row.
You can also make a vertical quilt, or even a square one! Of course, you don’t necessarily have to stick to any option; you could always try a circular or staggered block design.
Whatever style you choose, you’ll include enough extra strips of fabric on each side to allow you to trim down the excess water.
Step 2: Measure The Space You Need
After deciding on a layout, it’s time to figure out exactly how large the completed quilt needs to be.
As mentioned earlier, the height determines how many rows of stitching you need, and the width dictates how wide the borders need to be.
Take a tape measure and measure around the whole thing to do this. Next, write down the measurements from both sides.
Step 3: Sketch The Design
After measuring, sketch the design in pencil onto a sheet of copy paper. Make sure to draw all the details you see clearly; otherwise, you won’t know what you need to cut out correctly.
This way, you’ll also avoid wasting fabric. Now that you’re done sketching the design, it’s time to start cutting!
Tips for Cutting Fabric
When cutting fabric, aim for straight lines rather than curves. This will ensure that the edges line up when you sew them together. Use sharp scissors with a smooth blade.
Sharp blades help you make clean cuts. Cut only as much fabric as needed. Don’t waste any material!
Step 4: Stitch It Up
Now that you have everything prepared, it’s finally time to stitch your quilt together! Remember, however, that you’ll need to alternate between right and wrong sides to construct an asymmetrical piece of fabric.
The first step involves pinning the pieces together, followed by sewing seams. After completing the first seam, flip the fabric over and repeat the process.
Continue until you reach the end of the row, then turn in the other direction. Repeat this process until the entire quilt is complete! Don’t forget to handwash your new creation!
Sewing Tips
To start sewing:
Place two layers of fabric on the right sides together, matching thread colors. You should begin sewing using a double strand of thread to easily remove stitches without pulling too hard.
Use a small needle size depending on the weight of the fabric you’re working with.
For lightweight materials such as cotton, use a light-medium-sized needle. As you get more familiar with quilting, you can switch to larger needles to work faster.
Before you start quilting, remember that the easiest method for laying out designs is to “stitch-in-the-ditch.” Simply move the needle into the existing hole and continue stitching when starting a row.
If you’re worried about accidentally creating holes during the process, you’ll want to find a technique that works best for you. There are plenty of options available, including free-motion embroidery.
Sewing Machine Tips
To work a sewing machine:
Align the presser foot to the edge of the fabric where you plan on beginning your following line.
Lift the foot off the table and lower it back again just enough to allow you to insert the needle. If you’d like to add a buttonhole, you do so after each stitching round.
Once you reach the end of one line, reverse the direction of the foot and reinsert the needle.
Continue on for every single line following the same procedure.
TIP: Always keep your eyes on the fabric while pressing the pedal. Doing so will prevent your feet from slipping underneath the presser foot!
If you don’t regularly sew, there are several things that you need to consider before taking the plunge into the world of quilting:
First, choose which type of machine you wish to buy. There’s no shortage of engines to choose from: treadle, electric, manual, etc. Each has its advantages and disadvantages. Some cost less; others cost more, but they’re of better quality. Next, consider how many hours you’ll be able to spend sewing per week. Do you prefer to sit or stand? Do you like a long arm or short arm machine (or both)? Will you be doing large projects or smaller ones? And lastly – does your home require electrical outlets for power tools?
Second, if you decide to go ahead and purchase your own machine, make sure that it comes with instruction manuals. They should contain information regarding maintenance, care, and other essential tips and tricks. In addition, any reputable retailer should provide an instructional DVD for beginners.
Third, when considering buying a brand-name sewing machine, always compare it against similar models at local retailers. It would be a shame to spend hundreds of dollars on a device only to find out later that it didn’t live up to its reputation.
Fourth, look out for warranties. Ensure that the warranty covers all parts needed to repair your machine, not just those that may break down within a certain amount of time. Also, check to see what kind of service center your warranty provides. Many stores offer a quick repair option for little to no extra charge. Others have a repair department that takes weeks to come by. Choose wisely.
Fifth, when selecting a brand name machine, pay attention to any features you value most. For example, some machines include built-in stitch count indicators. This feature allows you to quickly view exactly how much you have sewn. Other brands include various features, such as preprogrammed stitches and automatic thread cutters.
Sixth, don’t forget to take note of your model number. You can usually find this written right on the machine itself. Also, check the manufacturer’s website for additional details.
Finally, don’t underestimate the importance of properly learning how to use a sewing machine. Just because you know how to operate a TV remote doesn’t mean that you understand all the intricacies of turning on a TV.
The same goes for your sewing machine. Learning about the proper operating protocol is essential if you want your device to run efficiently for years to come.
Once you have decided to start quilting, we suggest some basic guidelines.
Create a budget.
Purchase materials.
Read instructions carefully.
Invest in good-quality threads, needles, and zippers.
Rope in a spare pair of hands.
Have fun!
Plan ahead.
Practice makes perfect.
Be patient.
Enjoy your new hobby.
As a beginner, you must learn how to sew before you can enjoy the benefits of learning how to quilt.
There are many reasons why someone might want to learn how to quilt. Here are five of them.
1. Learn A New Skill
If you’ve ever thought about learning a new skill, you will certainly appreciate the joys of learning how to quilt.
Whether you simply dream about becoming a great quilter or simply able to begin a project, there are countless things that you could do with your newfound knowledge. If you already sew, you likely already have a few ideas of things that you could try.
2. Get Creative
Learning how to quilt is an excellent way to get creative with your sewing. While you could buy fabric and create something from scratch, learning teaches you to combine materials in unique ways.
By experimenting with color combinations, patterns, textures, and techniques, you open yourself to endless possibilities.
3. Stay Organized
Learning how to quilt offers another reason to stay organized. As you design each pattern, you will probably need to track where everything fits together.
In addition, you will also need to keep track of fabric yardage, colors, and other items. Thankfully, designing and creating patterns makes organizing these supplies easy.
4. Save Money
Learning how to quilt is often referred to as a fun and money-saving hobby.
5. Make Money
While learning how to quilt won’t make you rich overnight, it may eventually lead to a more lucrative career as a professional designer.
Not only can you produce beautiful designs, but your skills will allow you to sell your creations at craft fairs, online stores, and even retail outlets.
However, if you choose to pursue this route, keep in mind that it will require hard work to reach your goals.
Conclusion
In conclusion, learning how to quilt isn’t just fun and exciting. It can be gratifying as well. With a bit of practice and dedication, your future looks bright.
My name is Sarah Maine and my hobby is quilting. No, I’m not retired - I’m in my early 20s and have been quilting since I was a teenager! Quilting and sewing are incredibly underrated hobbies in my opinion - and I want to bring them back.


")


