Quilting is a great way to create something unique and personal – and the best part is that you don’t need to have too much knowledge or know-how in order to do it.
In fact, you don’t need to be a master seamstress to start sewing your own quilt at all! So much so that you can start with a simple project today (such as a pillowcase) even if you have never made one before. The only question is, how do you get started cutting out fabric for a quilt?
This is one of the most common questions that beginner quilters find themselves wondering, and if you are currently finding yourself in this boat, then don’t panic – because you’re not alone.
Learning how to cut out fabric using a rotary cutter and ruler is simple as can be, and we’re here to show you how.
If you’re just getting started in the world of quilting, then rest assured that you have clicked on the right article.
Below, we are going to be talking you through a simple way that you can cut your quilt pieces using the proper techniques and tools, as well as some additional tips and tricks along the way.
Read on!
What is Quilting?
Quilting is an art form where two fabrics are stitched together to make a beautiful piece of work. It’s a creative process that involves piecing together various shapes of fabric to create a patterned design.
You might think that quilting requires advanced skills and expertise, but actually, anyone can learn how to sew their very first quilt!
In fact, there are many people who use quilting as a hobby and even as a profession. There are also numerous online tutorials available that will teach you everything you need to know about quilting, too.
How Do I Start Cutting Out Fabric For My First Quilt?
Now that you understand what a quilt is, let’s talk about how you go about creating one. We’ll begin by explaining the basic steps involved in creating your first quilt.
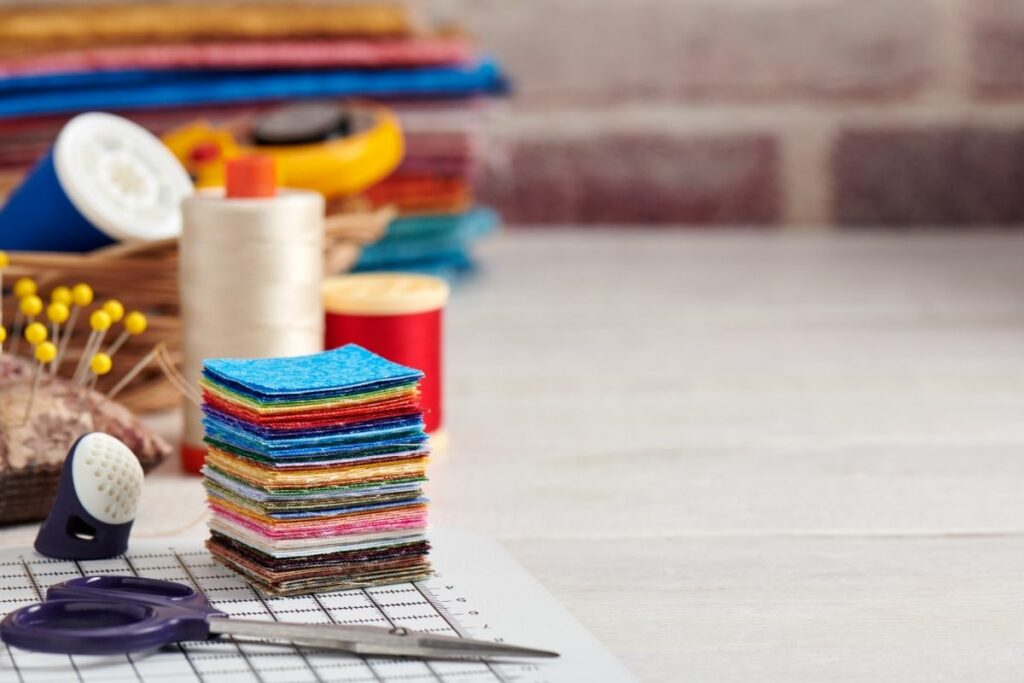
Step 1: Choose Your Fabric
When it comes to choosing fabric for your first quilt, you should always start off with a plan. What kind of quilt will you be making? Will it be a traditional quilt, or perhaps a modern one?
How big will it be? These are all important considerations that you must take into account before you start shopping around for fabric.
Once you’ve decided on the size of your quilt, you’ll need to decide which type of fabric you’d prefer to use.
There are a variety of different quilting materials that you can use, including cotton, wool, polyester, linen, silk, etc. Each material has its own benefits, so you’ll need to consider these factors when deciding which fabric to use.
Step 2: Select Your Pattern
Once you’ve selected your fabric, it’s time to select your pattern. There are many patterns available online, including ones designed specifically for beginners.
However, if you’re looking for something more exciting, then you may want to consider purchasing a ready made pattern. This will save you lots of time and effort, allowing you to focus on other things instead.
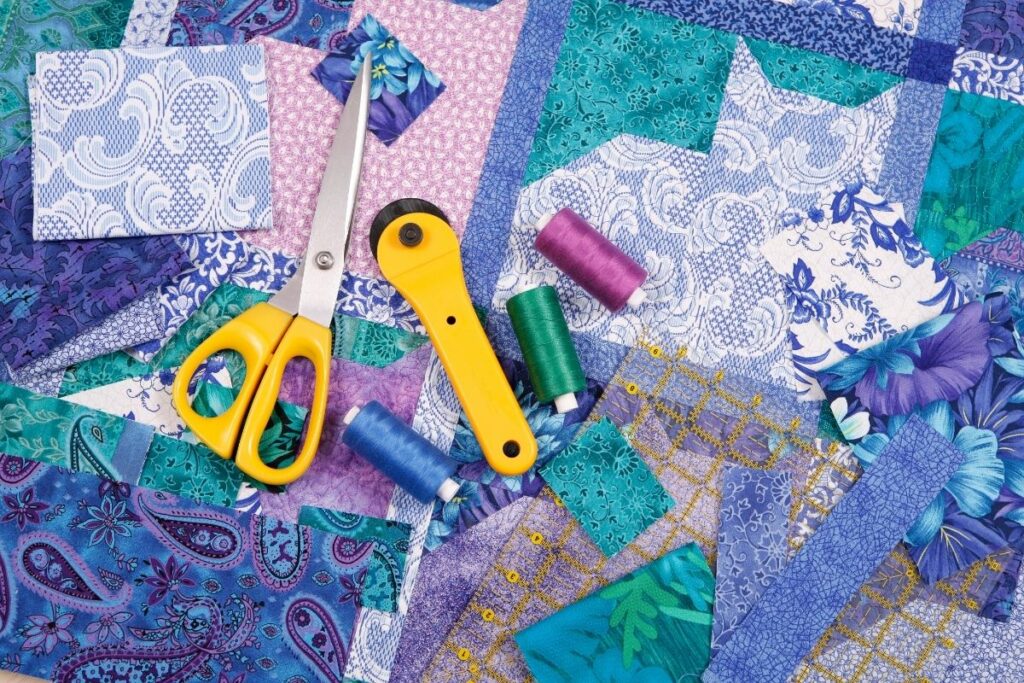
Step 3: Cut Your Quilt Pieces
The next step is to cut out your pieces. If you’re new to sewing, this can seem quite daunting at first. Don’t worry though; it’s not too complicated. All you have to do is follow a few simple guidelines.
First, you’ll need to measure your fabric carefully. Make sure that you get everything right because once you’ve sewn your fabric together, you won’t be able to change anything. So don’t forget to double-check your measurements.
Next, you’ll need to draw a line down the center of your fabric, using chalk or pen. Then, fold your fabric along the drawn line, ensuring that the raw edges meet neatly in the middle.
Finally, cut along the marked lines. If you’re having trouble cutting straight lines, you might find that iron helps. Simply place your fabric face-down over a flat surface, and press firmly until it’s perfectly smooth.
Step 4: Sew Together The Pieces Of Your Quilt
After you’ve finished cutting out your pieces, you’ll need to sew them together. To ensure that your seams are neat and tidy, you’ll need to use a seam ripper.
This tool allows you to easily remove any loose threads from your seam allowance, leaving you with a perfect finish.
To sew your pieces together, simply align the raw edges and pin them securely in place. Once you’ve done this, you can either hand stitch your seams or machine stitch them.
Whichever method you choose, make sure that you leave enough space between each piece so that they can lie flat when you’re finished.
Step 5: Add A Binding
Your final step is to add a binding to your quilt. Binding is a strip of fabric that goes around the edge of your quilt, helping to keep it secure while also adding some decorative flair.
You can buy pre-cut bindings at most craft stores, but if you’d like to create your own, there are plenty of tutorials available online.
There are many ways to attach your binding to your quilt, depending on what look you’re going for. For example, you could use a zigzag stitch, blanket stitch, whip stitch, French seam, or even a combination of techniques.
Whatever method you choose, just make sure that you leave a gap at the top of your quilt so that you can turn it inside out without getting caught up in your stitching.
Final Thoughts
Now that you know how to make a quilt, you should feel confident about tackling future projects.
Whether you’re making a patchwork cushion or a bedspread, you’ll soon be creating beautiful items that you can proudly display in your home or even gift to those that you love.
Thank you for reading, we hope that this guide has been a help!
My name is Sarah Maine and my hobby is quilting. No, I’m not retired - I’m in my early 20s and have been quilting since I was a teenager! Quilting and sewing are incredibly underrated hobbies in my opinion - and I want to bring them back.


")


