Binding is the process of joining two pieces of fabric together, usually by sewing them along their edges. It can be used for a variety of purposes, including making quilts and other items that need to hold their shape.
Most often, binding is sewn around the raw edge of a quilt or project, but it can also be used on garments, wall hangings, tablecloths, and more.
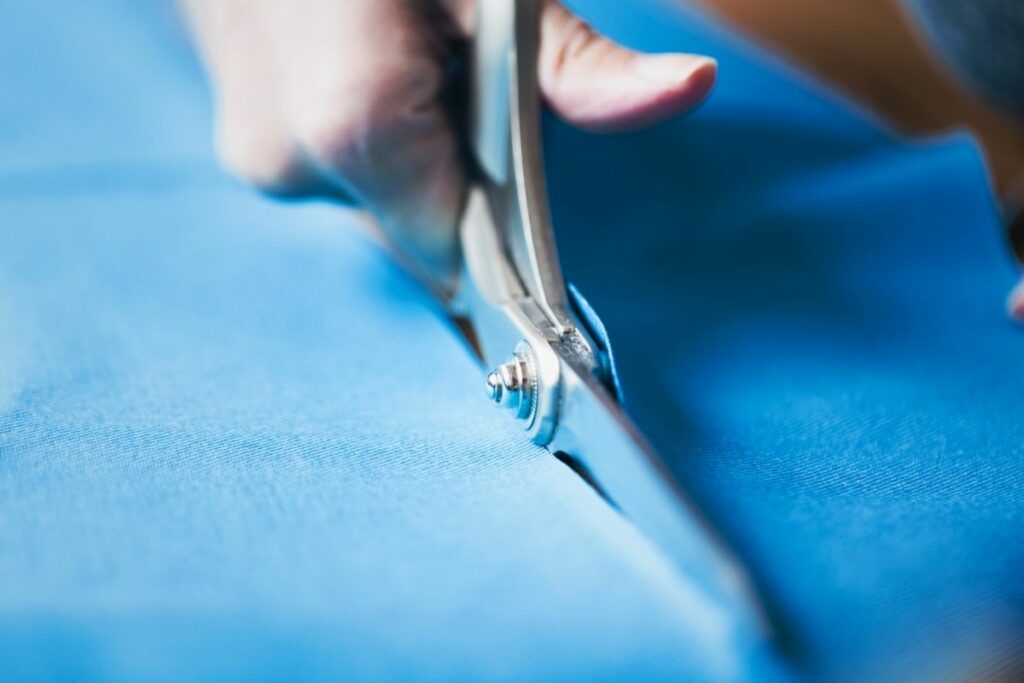
In this tutorial, I shall guide you on how to cut bias binding strips from your own fabric stash, as well as how to sew the strips into place.
So, let’s get to it!
How to Cut Bias Binding
Follow the step-by-step guide below to successfully cut bias binding:
Step 1: Determine Your Fabric Requirements
The first step in cutting bias binding strips is determining what size strip you want to use.
If you are going to make a straight-across binding (one long strip), then you will need at least 2 yards of fabric.
However, if you are going to make an L-shaped binding (two shorter strips) then you will only need about 1 yard.
You may want to buy extra fabric just in case you run out halfway through the project.
The length of your binding depends on the size of your project. For example, if you are making a queen size quilt, you will probably want to bind the top and bottom with 3/4” wide binding.
But if you are making a baby quilt, you might want to use narrower binding like 1/2”.
You should also consider whether you want to add decorative elements to your binding. If so, you’ll need additional width.
For example, if I am adding a decorative element to my binding, I would choose 5/8” or 7/16” binding.
You can always get creative when choosing the width of your binding. Just keep in mind that the wider the binding, the longer it will take to complete your project.
Step 2: Measure Your Project
Before you start cutting your binding strips, measure your project.
Make sure you know where the center point of your binding will fall before you begin cutting.
Step 3: Mark Your Center Point
Mark your center point on both sides of your fabric.
The easiest way to do this is to draw a line across the middle of your fabric. Then mark the points where the lines intersect.
These marks will help you determine which side of your fabric to fold over.
Step 4: Fold Over One Side
Fold one side of your fabric up toward the center point until it meets the opposite side.
Press the crease flat. Repeat this step for each side of your fabric.
Step 5: Fold Over Both Sides
Fold both sides of your fabric up toward your center point until they meet. Press the creases flat.
Step 6: Trim Your Strips
Trim off excess fabric along the folded edges. Be careful not to remove too much fabric. You don’t want to end up with ragged edges.
Step 7: Sew the Strips Together
Sew the strips together along the folded edges. Start with the longest piece and work your way down to the shortest piece.
When you reach the last piece, turn under the raw edges and press them open.
Continue sewing the remaining strips together.
Step 8: Finish Off Your Binding
Turn under the short ends of your binding and press them flat.
Top stitch the binding to the front of your project.
And that’s it!
How Useful is Bias Binding?
Binding adds stability to your finished quilts. It keeps your quilt from shifting around during shipping and handling. And it makes your quilt look professional.
In addition, bias binding helps prevent fraying and unraveling. This means less time spent repairing your quilt.
If you’re looking for more information on how to sew bias binding, check out our tutorial here.
How Wide Should the Quilt Binding Be?
There isn’t really a right answer to this question. The width of your quilt binding depends on what type of binding you plan to use.
If you are using solid colored binding, then you can go as narrow as 1/4” wide. But if you are using a patterned binding, you may want to make it wider than 1/4”.
Here are some general guidelines for determining the width of your binding:
Queen-sized projects (60″-72″) 3/4” – 1 1/2”
King-sized projects (72″-84″) 3/4” – 1 1/4”
Full-size projects (84″-96″) 1 1/2” – 3/4”
Smaller projects (48″-54″) 1 1/4” – 3/4”
How Long Should My Binding Be?
As mentioned above, there isn’t really a right length for your binding. If you have enough material, you could cut it as long or as short as you like.
But generally speaking, the shorter the binding, the easier it is to handle. So if you’re planning on making several smaller projects, consider keeping your binding relatively short.
If you’re working on a large quilt, however, you might want to keep your binding longer so that it doesn’t get in the way when you’re piecing.
Where Can You Buy Bias Binding?
Most quilting stores carry bias binding. But there are some online retailers as well. Here are a few places to find bias binding:
Amazon
Amazon has lots of different types of bias binding available. They even have special offers sometimes.
Jo-Ann Stores
Jo-Ann sells a variety of bias binding styles and colors. Some of their bias binding comes pre-cut. Others come cut to size.
Fabric.com
Fabric.com carries many different types of bias binding. They also offer free shipping on orders over $100.
Quiltville
Quiltville carries a wide selection of bias binding. They even sell bias tape so you can use it to bind your projects.
What About Other Types of Binding?
There are other types of binding available. For example, you could use a double needle or single needle stitch. Or, you could use a blanket stitch instead of top stitching.
You may be wondering why I didn’t include these options in our tutorial. The reason is that most people prefer to use bias binding.
But if you really wanted to try another type of binding, feel free to give it a shot. Just make sure you read through this tutorial first.
Final Thoughts
I hope you enjoyed this tutorial on how to cut bias binding, and that you are successful with your quilting project!
You are probably aware now how easy it is to do. It also gives a project like a quilt a professional finish, as well as helps it to not become undone and look tatty.
My name is Sarah Maine and my hobby is quilting. No, I’m not retired - I’m in my early 20s and have been quilting since I was a teenager! Quilting and sewing are incredibly underrated hobbies in my opinion - and I want to bring them back.


 Guide To The Best Sewing Thread")


")

