Miter corners are the most basic type of corner, but they can be used in many different ways. There are several methods that will work with all types of fabric and some that only work with certain fabrics.
This tutorial will show you how to miter corners using three methods so you can choose which one works best for you.
So, with that in mind, let’s take a look at how to miter the corner on a quilt.
Let’s Start With the Basics
Before we can Meter the quilt, let’s start at the beginning:
Step 1: Cutting Fabric
The first step in this project is cutting out the fabric pieces needed to make the blocks.
You will need two rectangles measuring 8 inches by 10 inches (20 cm x 25 cm) and four squares measuring 4 inches by 4 inches (10 cm x 10 cm).
Cut each rectangle into quarters diagonally across the grain. Then cut each quarter square into half triangles along the diagonal.
Step 2: Making Blocks
Place the two 8 inch by 10 inch (20 cm x 25 cm) pieces right sides together. Sew a straight seam down the center of the block.
Press open and trim away excess fabric from the top edge. Repeat with the remaining two blocks.
To make the border, place the four 4-inch by 4-inch (10 cm x 10 cm) squares right sides together. Sew along the long edges.
Trim away excess fabric from the outside edges.
Turn the block right side out through the opening made at the bottom of the block.
Press flat and press again.
Top stitch around the perimeter of the block.
Step 3: Finishing Block
Turn the block over and fold the raw edges under ¼ inch (6 mm). Pin the block in position.
Stitch a running stitch ½ inch (12 mm) from the folded edge.
Clip the thread and turn the block right side out. Press flat.
Top stitch around the entire perimeter of the block. Use a ruler or tape measure to mark the finished size of the block.
Now you’re ready to add borders!
Method 1 – Using Straight Seams
This method uses straight seams to connect the blocks together. It is the easiest way to do mitered corners.
Place the block on a table. Fold the raw edges of the block toward the wrong side of the fabric. The folded edge should be parallel to the short ends of the block.
Open up the folds and pin them in place. Stitch along the folded edge.
Continue stitching until the entire block has been stitched. Remove pins as you go.
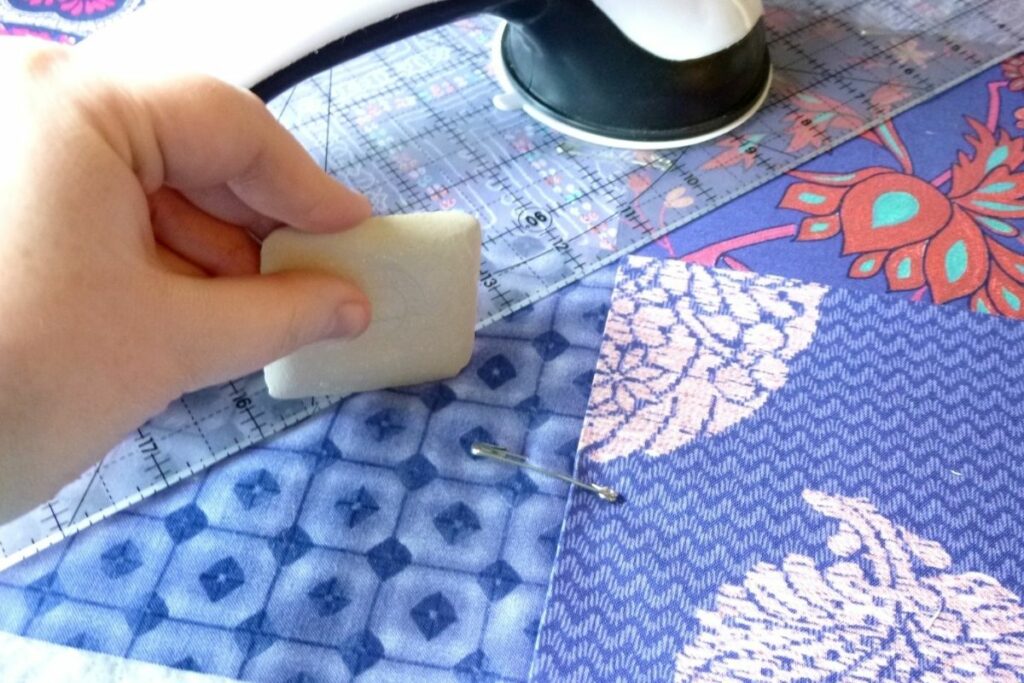
Once the block is completely sewn, flip it over and press the block flat. Make sure the raw edges are aligned before pressing.
Now you have a perfectly pressed block. To finish off the block, sew a straight line down the middle of the block.
Method 2 – Using Diagonal Seams
This method requires more time than Method 1 but gives a cleaner look.
Lay the block on a table with the raw edges facing up. Fold the raw edges toward the wrong side of your fabric.
Open up the folds. Line up the folded edges with the short ends of the blocks. Pin in place.
Start sewing along the folded edge. Stop when you reach the end of the block.
Flip the block over and press the block. Check that the raw edges are lined up properly. If not, adjust accordingly.
Continue sewing until the entire block is sewn.
Finish off the block by sewing a straight line down the center of the piece.
Method 3 – Using Zig Zags
This method looks complicated but can give a nice clean corner.
Lay one block face up on a table. Fold both long edges of the block toward you.
Open up the folds so they lie flush against the front of the block.
Fold the short edges of the block back toward you.
Open up the folds again so they lay flush against the front of your block.
Pin the block in place. You will now have a zigzag pattern running across the block. Begin sewing the zigzags.
When you get to the end of the block, stop sewing.
Flip the block over. Check that the raw edge is lined up correctly. Adjust if necessary.
Continue sewing until all the blocks are joined.
Finish off the block with a straight seam down the center.
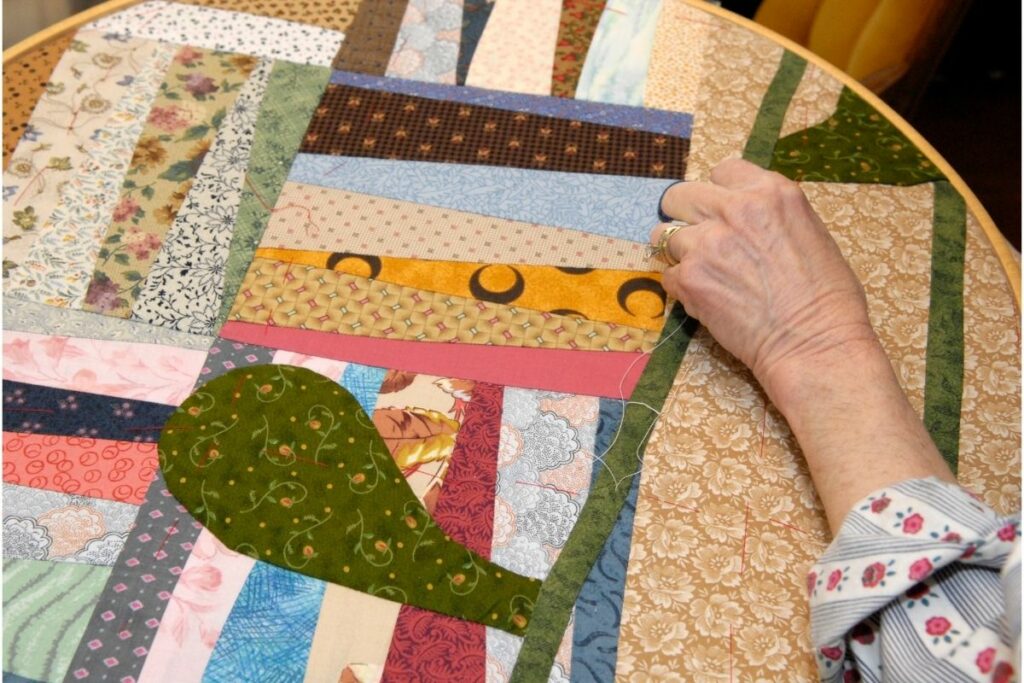
Why Add A Miter Corner On A Quilt?
Mitered corners make quilts look professional. This is ideal whether you are making a personal project, gifting to family or friends, or are planning to sell the quilt.
They also help keep the quilt square, helping to create a neat visual effect. It may also help the quilt to last longer and generally look so much neater.
Can You Avoid Metering a Quilt?
Yes, you can avoid metering a quilt. There are several ways to achieve this. One simple option is to use free motion embroidery instead. Another option is to use a walking foot for your machine.
If you don’t want to buy a new machine, you could try using an old treadle machine. These machines were designed to stitch through thick fabrics without having to worry about the needle dropping into the fabric. They are still available today.
If you do decide to meter a quilt, you should choose a good quality thread. The best threads are those made from cotton because they are strong and durable.
Final Thoughts
Whether you are creating a gift for someone special, or just making something for yourself, adding miter corners to your quilt projects makes them look even better.
The final step is to add some finishing touches. For example, you might like to add some stitching around the outside of the quilt to make it more decorative. Or you might consider adding some appliquéing work.
You could also add some embellishments such as buttons or beads.
My name is Sarah Maine and my hobby is quilting. No, I’m not retired - I’m in my early 20s and have been quilting since I was a teenager! Quilting and sewing are incredibly underrated hobbies in my opinion - and I want to bring them back.


")


