If you are new to sewing and the fun, crafty, and exciting world of quilting, then you might want to consider learning some basic techniques before attempting to sew a quilt – especially if you are interested in machine sewing rather than hand sewing.
Despite what you might have heard, you don’t need to be an expert seamstress to start quilting. In fact, you can even start with simple projects such as pillowcases, place mats, or table runners!
This is where we come in to lend a helping hand. In this article, you will learn how to machine quilt your very first project, so that you can work your way up to trying out different types of other quilting techniques.
We will be providing you with easy-to-understand, step-by-step instructions to help you machine your first quilt like a pro, as well as share other helpful tips and tricks with you along the way.
Read on!
How to Machine Quilt Your First Quilt: Step-By-Step Instructions
The process of machine quilting involves cutting pieces of fabric into specific shapes and placing them onto a background fabric.
Then, you stitch these pieces together using your sewing machine of choice to form a beautiful and unique design. It’s a great way to make something special for yourself or someone else.
Still, if you’re just getting started with quilting, the idea of using a sewing machine to stitch together your very first quilt can be an extremely daunting one.
If you’re currently in this boat, then rest assured that you’re not alone. The method that we are going to be sharing with you below is universal to all types of sewing machines and will ensure that you’re able to sew together your very first quilt without any issues. Check it out:
1. Cut Fabric Pieces
When starting off on your journey toward becoming a quilter, you’ll want to cut your fabrics into various sizes and shapes. For example, you could use 2″ squares for your blocks, 5/8″ strips for sashing, and 1″ circles for your center medallions.
You can also choose to use larger pieces of fabric, such as 9″ x 12″, 6″ x 8″, or 4″ x 6″. These larger pieces allow you to construct more complex patterns, which makes them perfect for bigger quilts.
If you’d rather focus on learning how to machine quilt before moving on to larger projects, then you can always start with smaller pieces.
2. Prepare Sewing Machine
Before you begin stitching your first quilt, you’ll want to set up your sewing machine properly. Make sure that you have the right needle size (you can find this information online), thread tension, and presser foot height selected.
Next, you’ll want to adjust your bobbin case to the correct position. To do this, simply lift the bobbin cover off of the bobbin case and slide it back down until it clicks into place.
3. Position Blocks
Once your sewing machine is ready to go, you’ll need to lay out your fabric pieces so they match up correctly. This means that you’ll need to line up your edges and corners.
To do this, align your edge guide to the top left corner of each piece of fabric. Once you’ve done this, move over to the next piece of fabric and repeat the same steps. Continue doing this until all of your fabric pieces are lined up correctly.
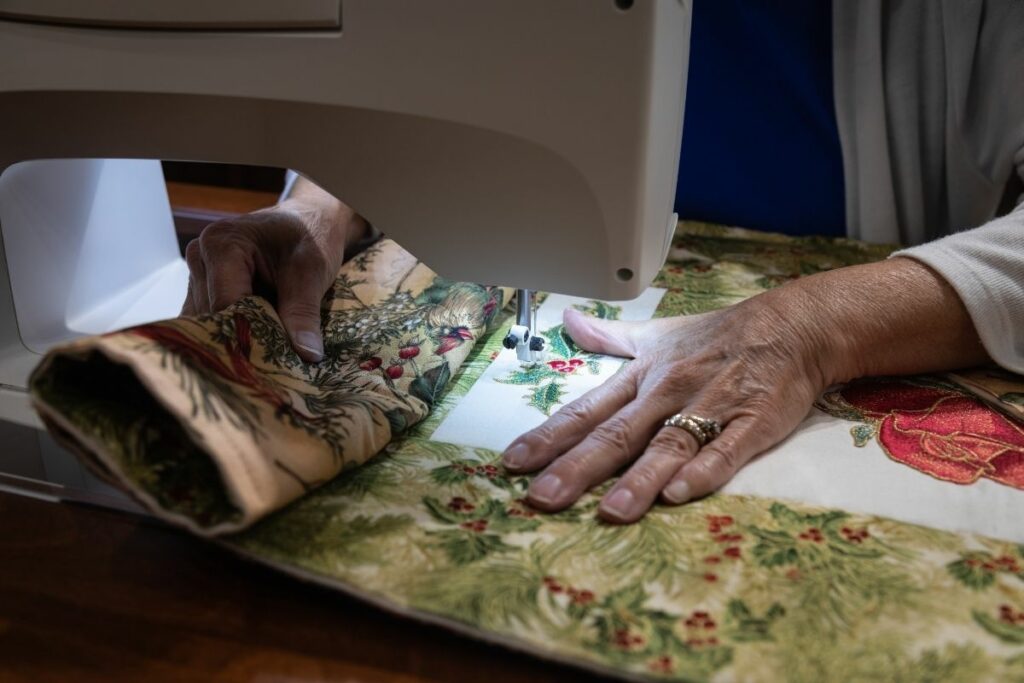
4. Stitch Together Fabric Pieces
Now that everything is laid out, it’s time to stitch together your fabric pieces. Start by pressing your seams open. Next, put your sewing machine into its highest speed setting.
Now, select a straight stitch length and stitch through all layers of fabric. You can either leave the feed dogs in their normal position or turn them off completely.
5. Press Seams Open
After you’ve stitched your pieces together, you’ll want to press the seam allowances open. This ensures that your finished project lies flat when you’re done sewing.
6. Turn Under Edges
After you’ve pressed your seams open, it’s now time to turn under the raw edges of your fabric pieces. Simply fold your fabric pieces in half along the long edge, wrong sides facing out. Then, take one of the folded ends and pin it to the other end.
Continue doing this until you reach the end of your fabric strip. Now, just turn the entire thing under and press it flat.
7. Mark Center Medallion
Now that your fabric pieces are sewn together, it’s time to mark the center of your center medallion. To do this, measure from the bottom of your fabric strip and make a small mark at the halfway point.
Next, you’ll need to cut out your center medallions using your rotary cutter. Use a ruler to ensure that you’re cutting exactly where you marked earlier.
9. Join Fabric Strips
Finally, you’ll need to join your fabric strips together. Start by folding one side of your fabric strip toward the middle. Repeat this step for both of your strips.
Then, sew these two strips together by hand. When you’re done, flip your fabric over and continue sewing the remaining strips together.
10. Finish Cutting Corners
Finally, you’ll need to finish cutting your corners. Start by folding one of your fabric strips in half again. Then, use your rotary cutter to trim away any excess fabric.
Once you have done this, cut off any excess material you can see, and then you will be ready to move on to the next step.
11. Sew Corner Bands
Now that your fabric strips are joined together, it’s time for you to attach corner bands to the outside of your quilt. Start by folding your fabric strip in half again.
Then fold the short edge of your fabric strip back on itself.
12. Attach Corner Bands
Now, it’s time to attach corner bands to your fabric strips. Take one of the corner bands and place it right above the fold line of your fabric strip.
Then, take another corner band and place it below the first band. Finally, take the last corner band and place it above the second band.
13. Pin Corner Band
Once you’ve attached your corner bands, you’ll need to pin them down to hold them in place. Take one of the pins and push it through the top layer of fabric and into the next layer.
Continue doing this until you reach your final fabric layer.
14. Stitch Corner Band Down
Once you’ve pinned your corner bands, you’re ready to start stitching them down. The easiest way to do this is to stitch one band down before moving on to the next.
15. Press Seams Open
When you’re done stitching all of your corner bands down, it’s time to press your seams open. Just follow the directions on your ironing board.
16. Trim Edges
After pressing your seams open, it may be necessary to trim some of the excess fabric around your blocks. This will help prevent fraying when you’re finished quilting.
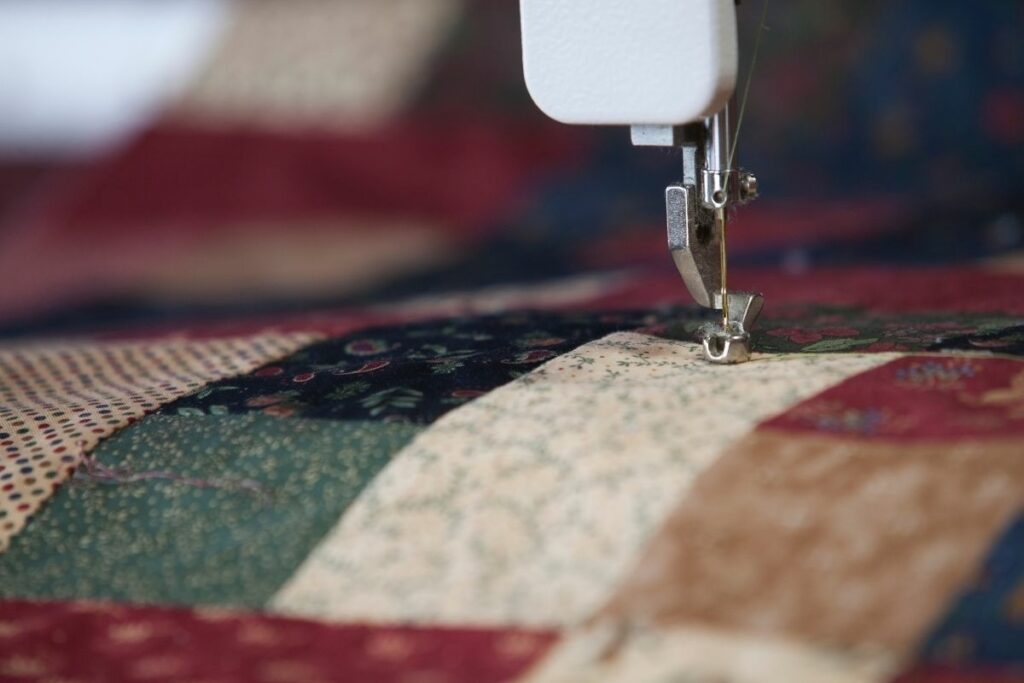
17. Quilt Blocks
Now that your blocks are complete, it’s time to quilt them. You can choose to machine or hand-quilt your blocks. Whichever method you prefer, just remember to keep your stitches close together and even.
As this tutorial is focusing on how to create a quilt using a sewing machine, you will need to make sure that you are stitching very close to the edges to prevent fraying, while also making sure to make proper use of the foot pedal.
18. Bind Block
Lastly, bind your quilt by following the instructions included with your binding kit.
This step can be a little tricky to get right the first time (especially if you have very little experience in quilting) so make sure that you take your time and stick to the instructions specific to the binding method that you are choosing to follow to bind your completed quilt together.
19. Finishing Touches
Your quilt is now complete! Feel free to add any additional embellishments or accessories to your quilted blanket as you see fit.
Many beginners who are just getting started in quilting like to add items that are easy to stitch, such as buttons. Although, the choice is entirely up to you.
Final Thoughts
There we have it! If you’re looking to start quilting, we hope this tutorial has helped you get started.
Remember, regardless of whether you’re hand-quilting or using a machine – creating your first quilt can often involve some trial and error, so don’t become disheartened if you make a mistake.
My name is Sarah Maine and my hobby is quilting. No, I’m not retired - I’m in my early 20s and have been quilting since I was a teenager! Quilting and sewing are incredibly underrated hobbies in my opinion - and I want to bring them back.


")


